
Have you encountered an app on your iPhone or Mac that’s only available in another country? Maybe you’re preparing to relocate and want access to region-specific apps and content. Luckily, Apple offers a solution, changing your App Store country. In this guide, we’ll lead you through the step-by-step process of switching your App Store country on both your iPhone and Mac.
Points to Keep in Mind Before Changing App Store Country
- Ensure to use any remaining funds in your Apple ID as they may not transfer to the new country’s App Store.
- Availability of App Store content differs by country, resulting in some apps or content being inaccessible in specific regions.
- Changing your country might impact your ability to use or re-download certain apps obtained from your previous region’s store.
- Be aware that region-specific restrictions or pricing variations will take effect following the change.
Note: If you're part of a Family Sharing Plan, you won't have the option to change your App Store country.
Changing App Store Country on iPhone
Though you can alter the App Store country or region directly within the App Store, you also have the option to change it through your iPhone’s settings. Here’s a guide on changing the App Store country on your iPhone:
Via App Store
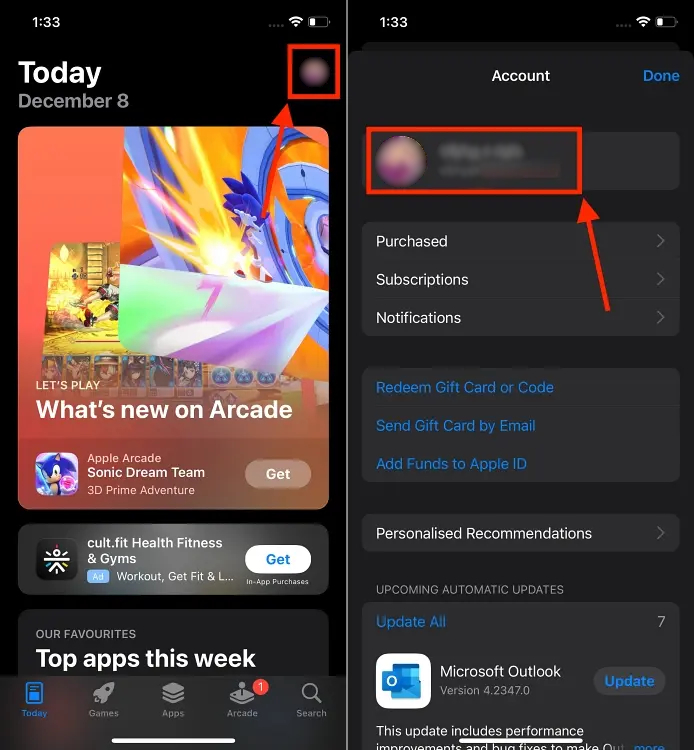
- Access the App Store on your iPhone and select your Apple ID Photo located at the top right.
- Choose your Name located at the top of the screen.
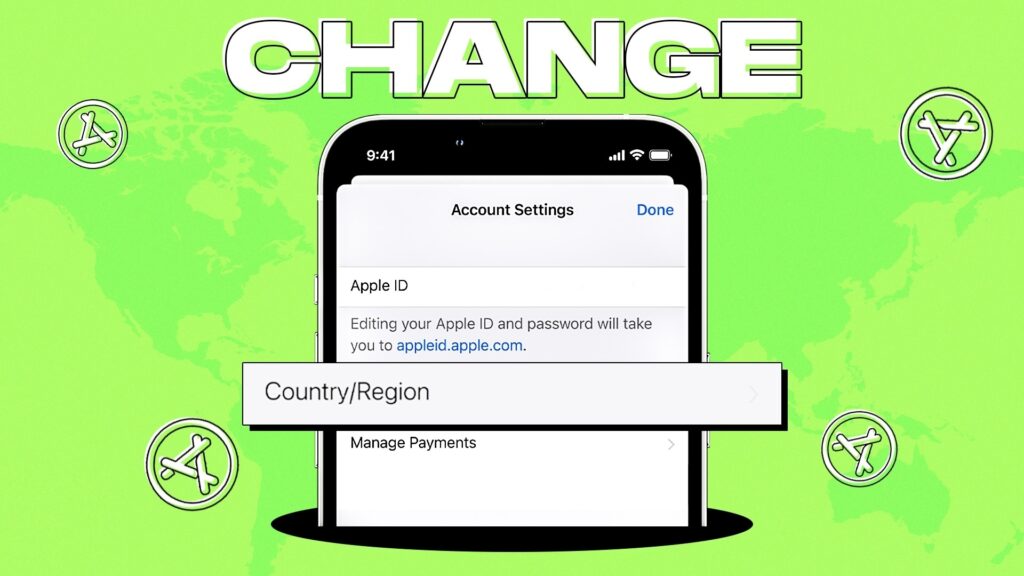
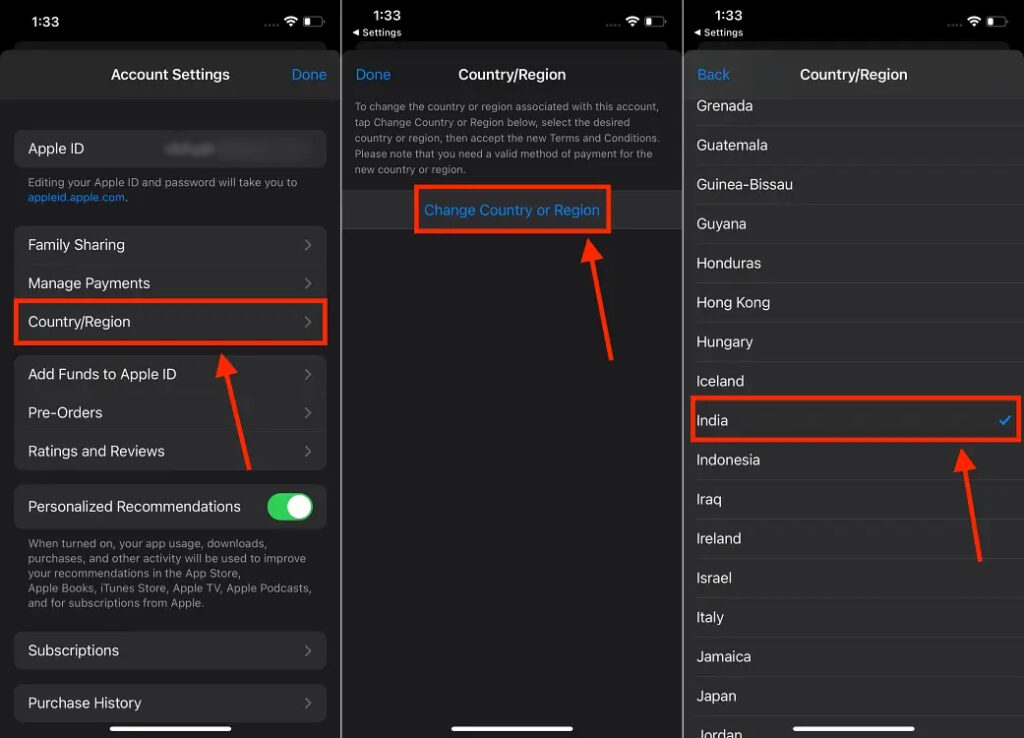
- Choose the Country/Region option from the following screen.
- Select “Change Country or Region” and then pick the desired Country.

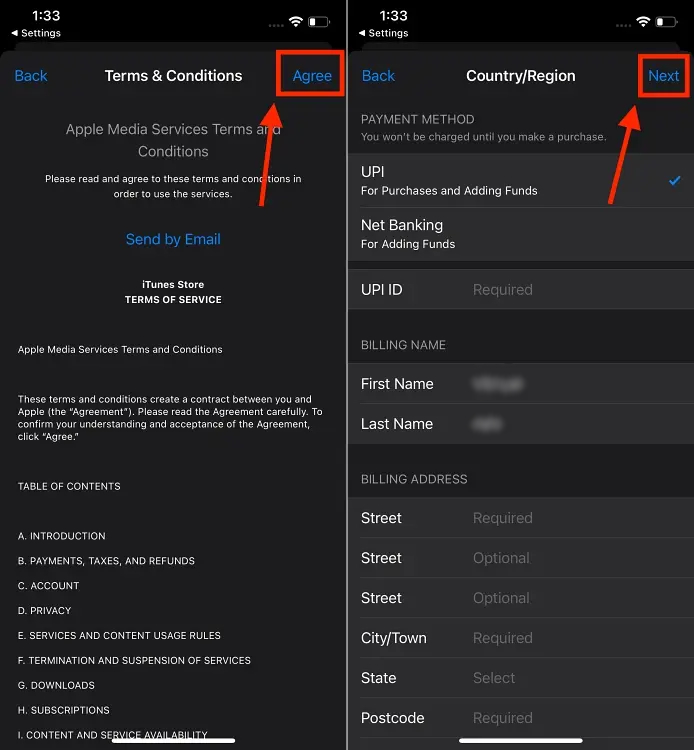
- Agree to the terms and conditions, input payment details and a billing address for your new country, and proceed by tapping the Next button.
Via Settings
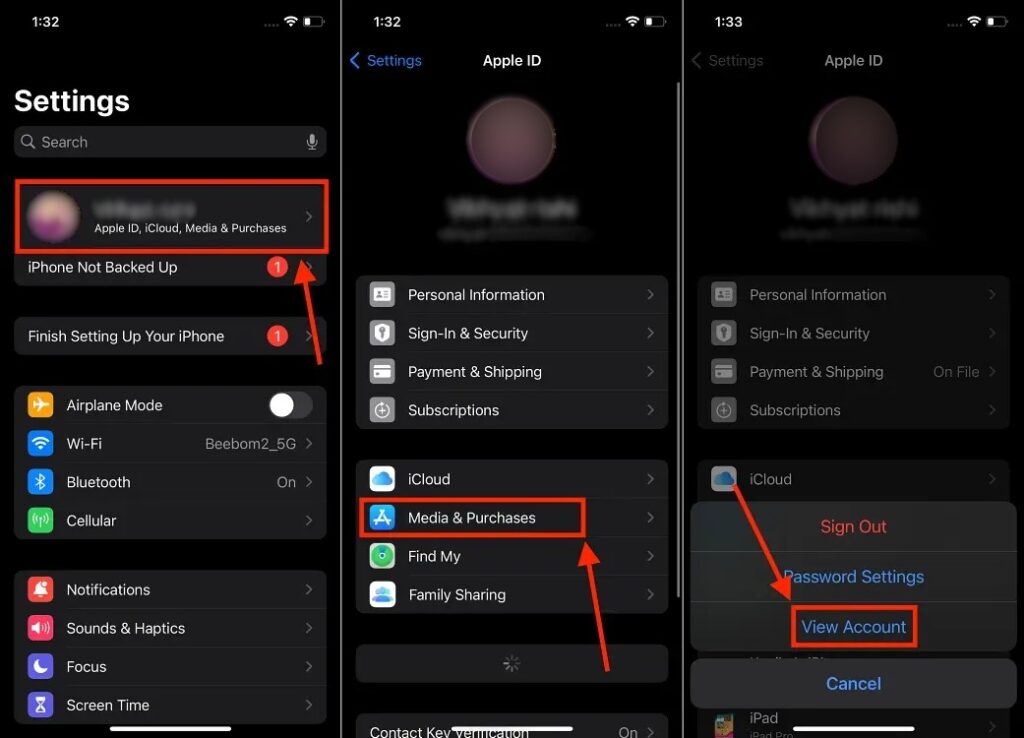
- Launch the Settings app on your iPhone and select your Name at the top.
- Find and tap the Media & Purchases option, then select the View Account button from the appearing pop-up.
- Choose the Country/Region option on the subsequent screen.
- Tap “Change Country or Region” and proceed by selecting the desired Country.
- Accept the terms and conditions, input payment details, and a billing address for the chosen country, then tap the Next button to continue.

Changing App Store Country on Mac
Similar to the iPhone, changing the App Store country on a Mac can be done through both the App Store and System Settings. We’ve detailed both methods below for your convenience:
Via App Store
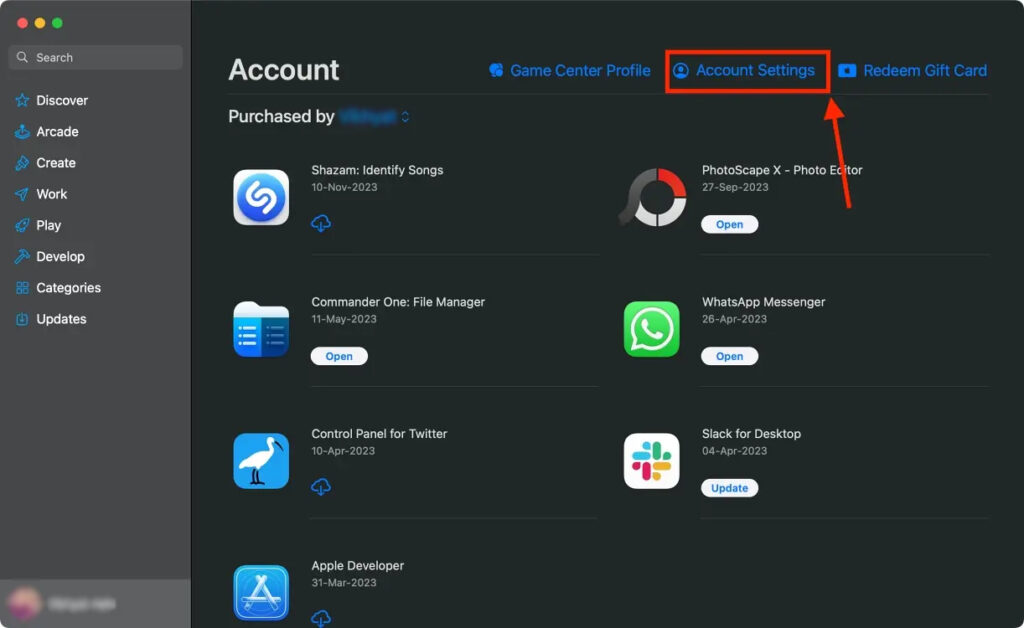
- Launch the App Store on your Mac and click on your Name & Photo button located at the bottom right of the window.
- Choose the Account Settings option from the available selections.
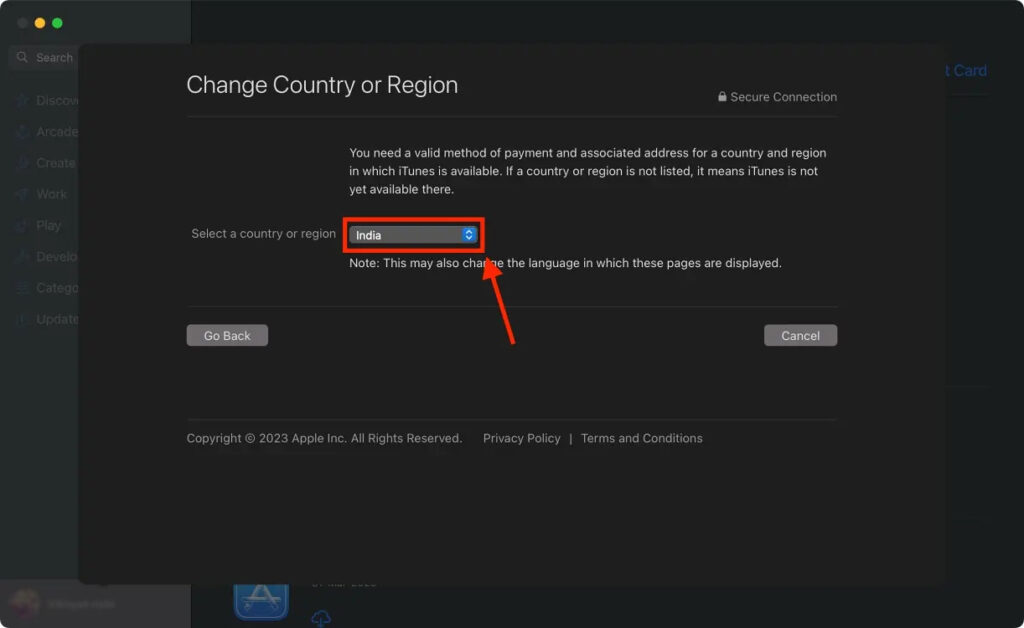
- Choose the option labeled as “Change Country or Region.“
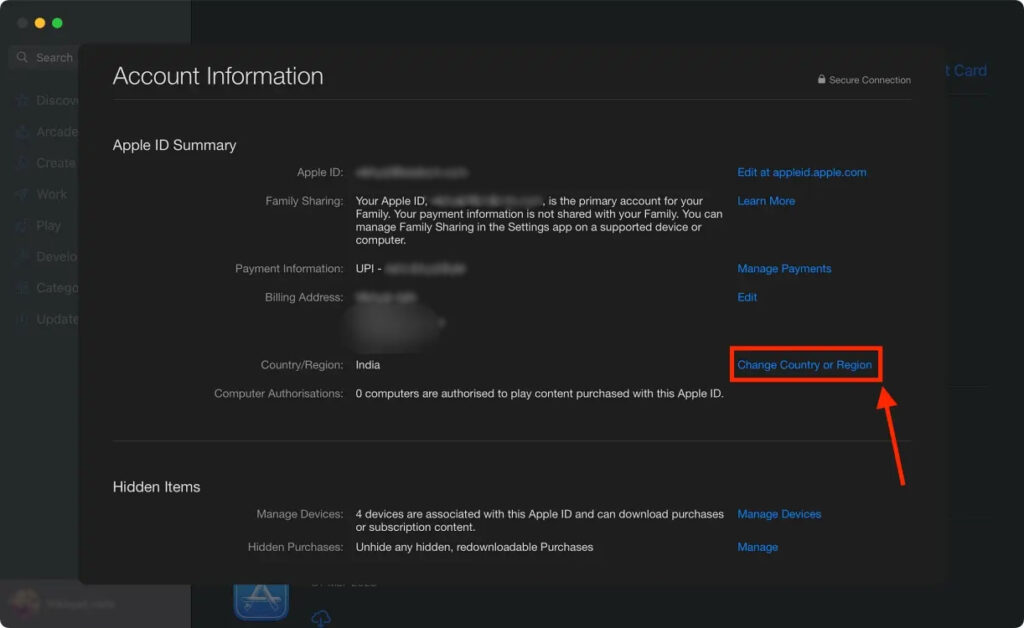
- Select your desired country from the available options in the drop-down menu.

- Review all the terms and conditions and agree only if acceptable.
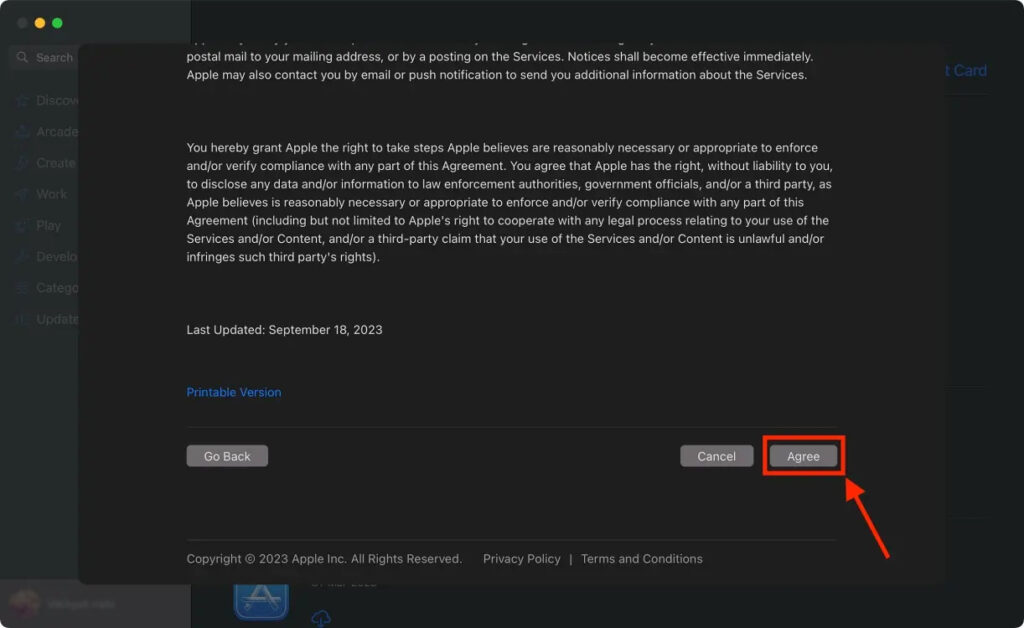
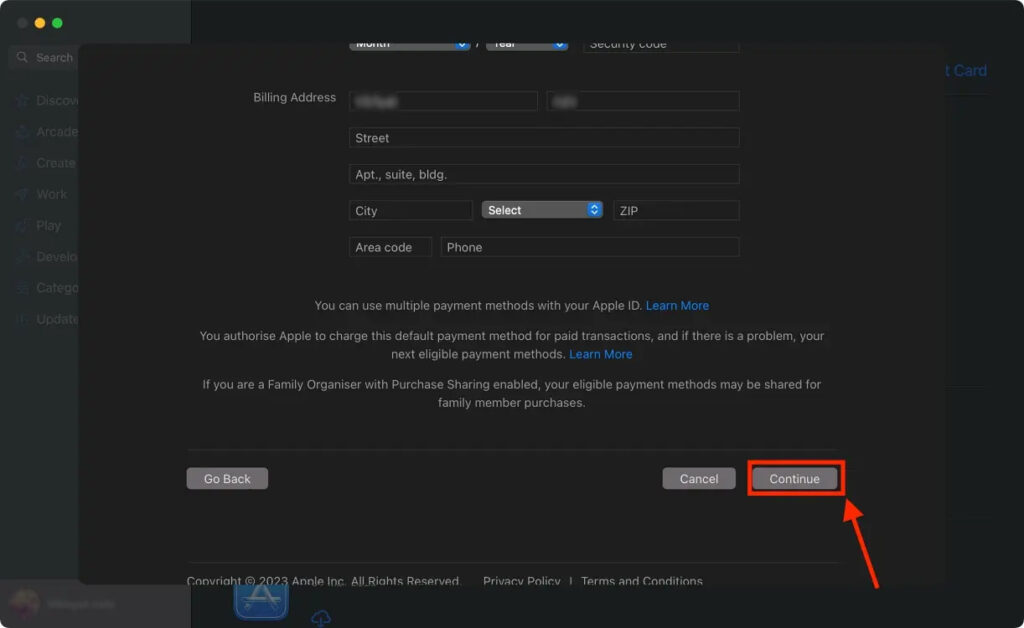
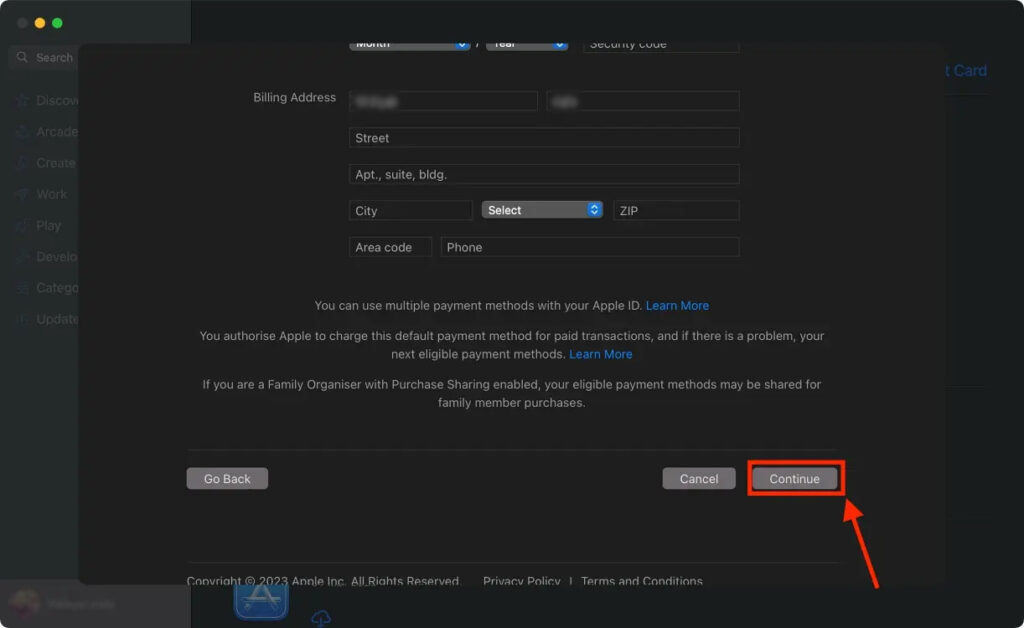
- Input payment details and a billing address for your new country, then click the Continue button situated at the bottom right of the window.
Via System Settings
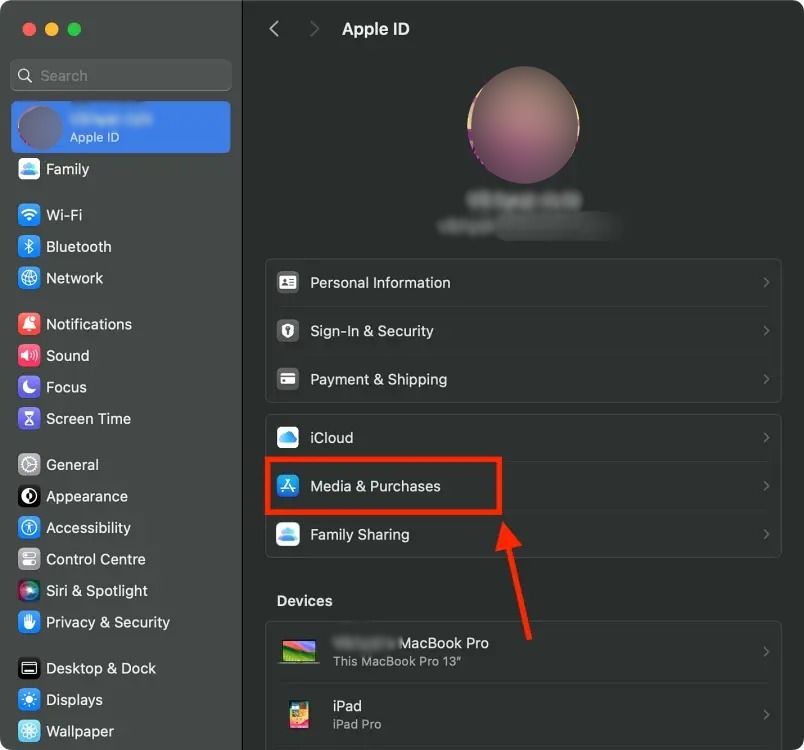
- Access System Settings on your Mac and click on your Name & Photo tab positioned at the top left of the window.
- Choose the Media and Purchases option.
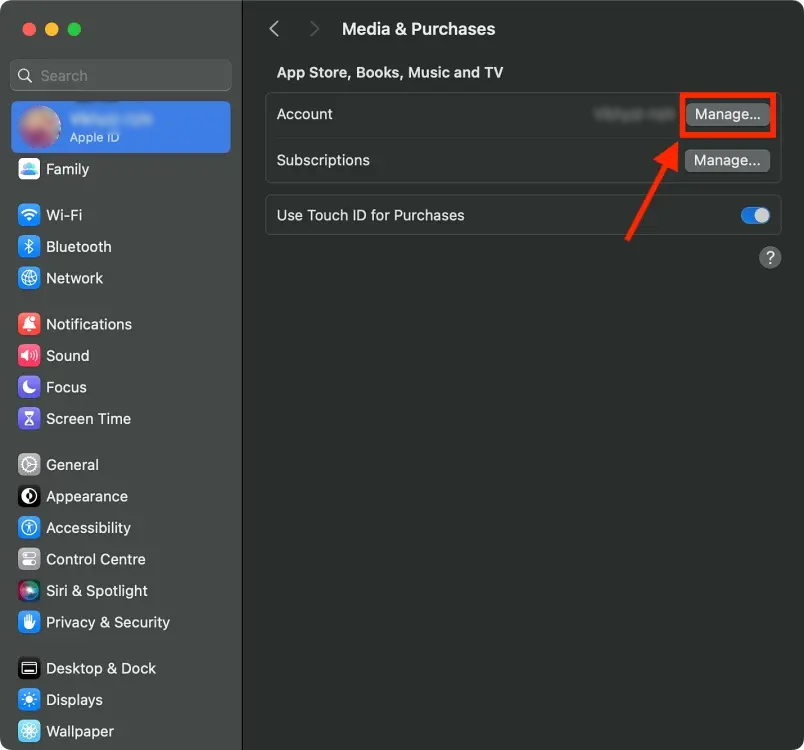
- Click the Manage button adjacent to your name in the Account section.
- Choose the option named as “Change Country or Region.”
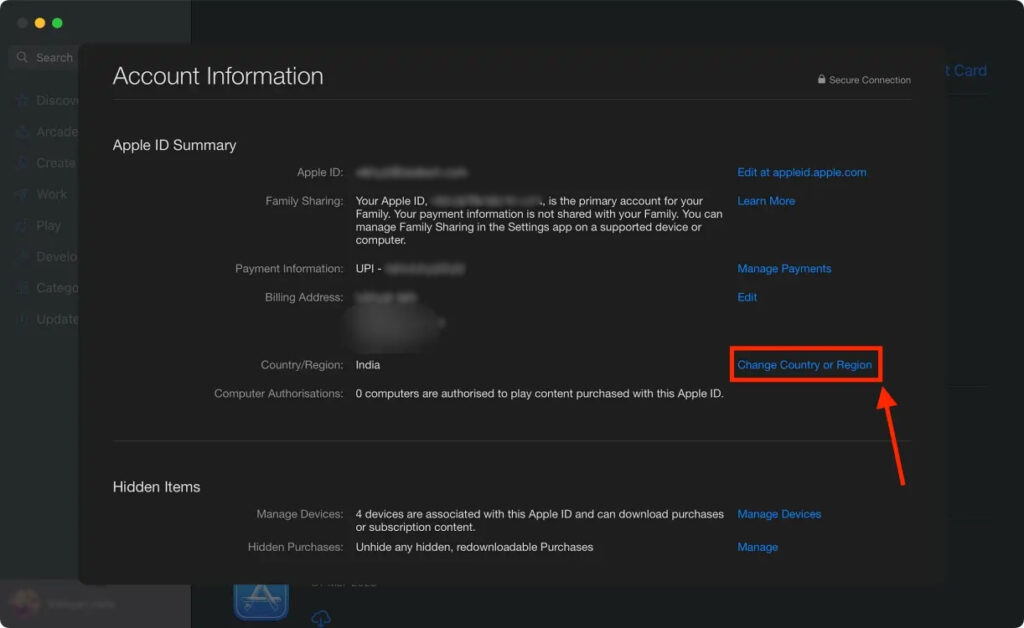
- Select your desired country from the available options in the drop-down menu.
- Proceed by clicking the Agree button to accept the terms and conditions.

- Input payment details and a billing address for your new country, then click the Continue button at the bottom right of the window.
That’s the process! You’ve successfully learned how to change the App Store country or region on your iPhone and Mac. Now, you can delve into a wider array of apps and content from around the world. Remember, it’s crucial to consider any implications, such as region-specific limitations or payment requirements, before making these changes.


