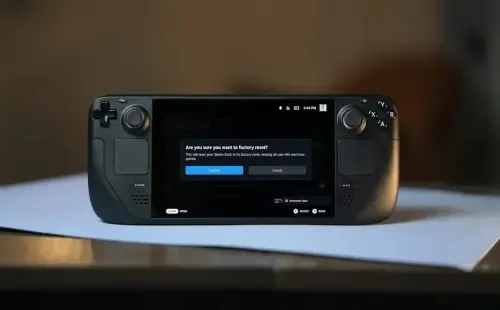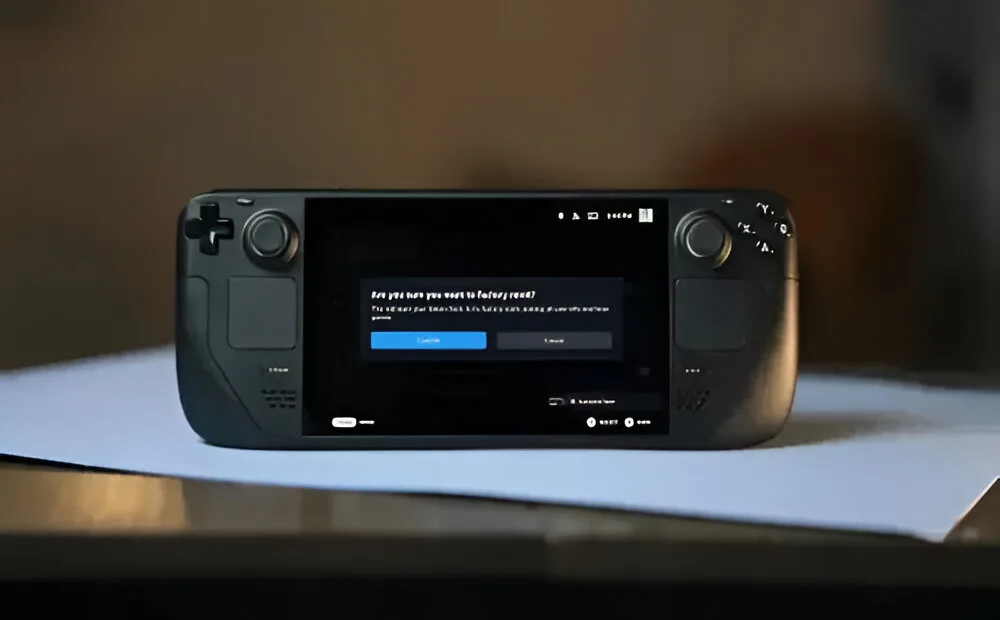
The Steam Deck generally functions smoothly, but like any device, it can encounter issues. If your SD card isn’t recognized even after formatting, you might need to perform a factory reset. While the process isn’t overly complex, it does involve several steps. Let’s walk through how to factory reset your Steam Deck together.
Clear Steam Deck’s Local Data First
Before starting the factory reset process for your Steam Deck, it’s important to remove your local data. This ensures that no residual local data remains after the reset. Follow these steps to do so:
1. Turn off your Steam Deck. Once off, press and hold the three dots and power button simultaneously to boot into recovery mode. If performed correctly, you should hear a beep.
2. In recovery mode, select “Erase User Data From Deck.“
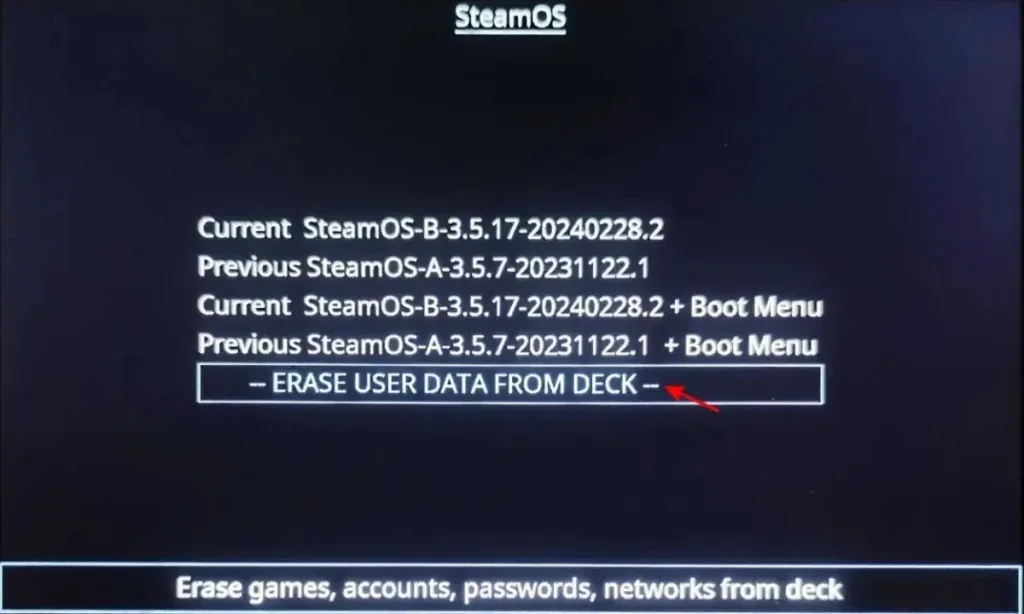
This action will delete the local user data and enhance privacy.
Resetting the Steam Deck to Factory Settings
Now that you’ve cleared your local data, it’s time to initiate the factory reset process for your Steam Deck. This will restore your system to its original settings, as it was when you first purchased it. Follow these steps to proceed:
1. Turn on your Steam Deck and set it to “Gaming Mode.” Then, press the “Steam” button located at the bottom-left of the system.
2. Once in the Steam interface, navigate to the “Settings” option to access the main menu.
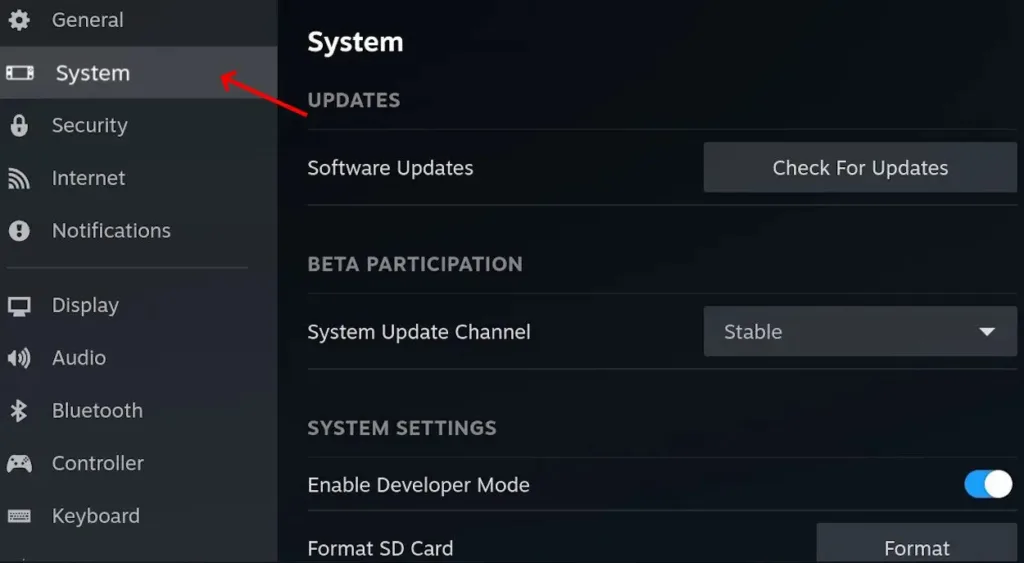
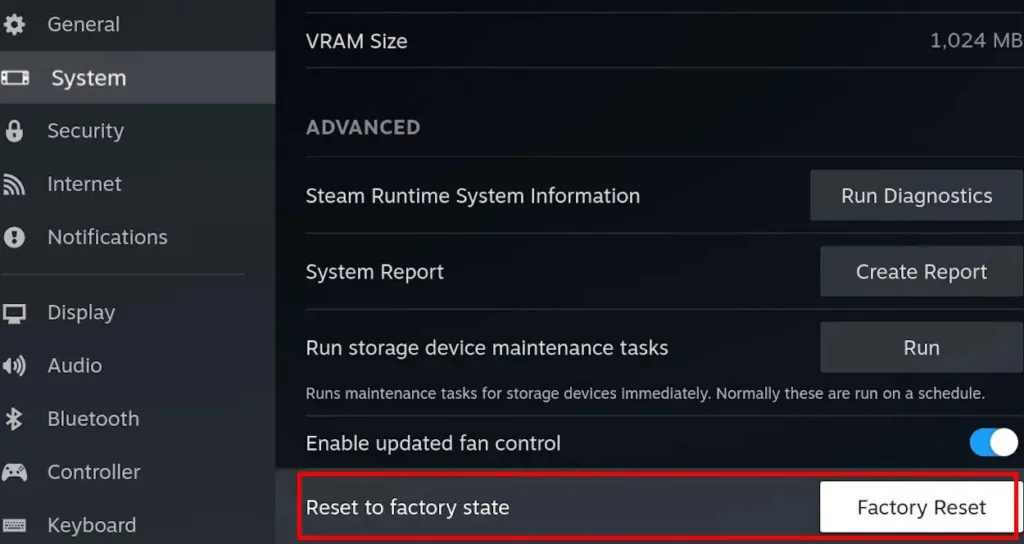
3. In the settings menu, use your D-Pad to select “System.” Scroll down to the Advanced Menu and choose “Reset to factory state.”
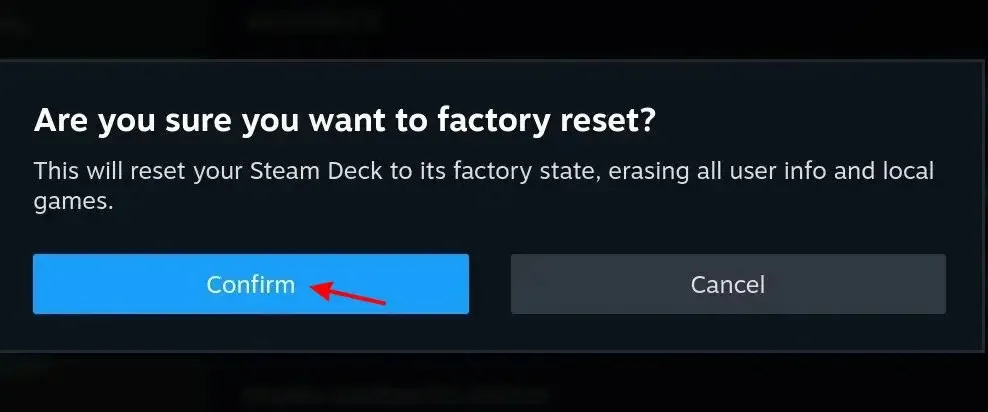
4. A confirmation screen will appear on your Steam Deck. Choose “Confirm” to continue with the reset.
And that’s it! If you’ve followed the steps above carefully, your Steam Deck should now be restored to its factory settings. As usual, the system will prompt you to log in to your account, similar to when you first set up your Steam Deck.
Were you able to factory reset your Steam Deck without any issues? If you encountered any errors, feel free to share them in the comments below!
