Windows provides a wide range of preloaded fonts to choose from. Whether you’re using a basic text editor like Notepad or a design tool like Illustrator, there are plenty of options available. Still, there are moments when the default fonts don’t quite cut it, and you need something different. In such cases, Windows makes it easy to install additional fonts on your system. So, if you’re looking to install fonts on Windows 11 (or Windows 10) or simply searching for a new one, here’s how to download and install fonts on Windows.
How to Install Fonts on Windows 10 and 11
There are three methods to install fonts on Windows 11 or 10. Go through them in this order to find the one that works best for you.
Method 1: Install Fonts Using the Source File on Windows 10 and 11
The simplest and most direct method is to use the font’s source file. When you download a font, it typically comes in a zipped folder. After extracting it, you’ll find the fonts in .ttf or .otf formats. Windows automatically detects these and provides a quick way to install them.
- Once you’ve downloaded the fonts, right-click on the zip files and extract them.

- Open the folder you just extracted and double-click on the font you want to install. It’s best to choose the regular version of the font.

- A new window will pop up showing a preview of the font. Click on Install at the top left.

- If you already know which font you want to install, you can right-click on it and select Install from the context menu to add it directly.

The font installation will start and finish within a few seconds, and that’s it. You can repeat the same steps to install any number of fonts on Windows 11.
Method 2: Install Fonts Using Settings on Windows 11
Control Panel used to be the second go-to method for installing fonts on Windows. But with Microsoft gradually phasing it out, the ability to install and manage fonts has been shifted to Windows Settings. Here’s how you can access and install fonts through Windows Settings.
- Open Settings by searching for it in Windows Search or by pressing Windows + I.
- In Settings, click on Personalization from the left sidebar.
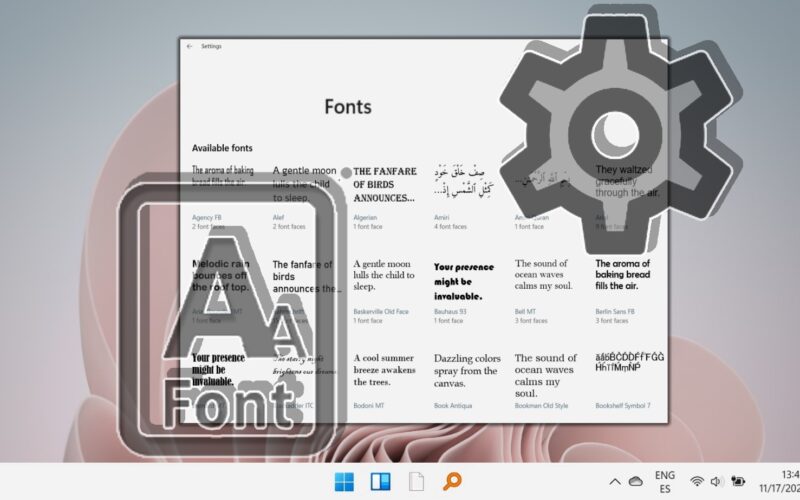
- Scroll down on the right side and click on Fonts.

- Then, click on Browse and install fonts.

- Choose the font file you downloaded, and Windows will install it.

- Once installed, the font will show up in the list of available fonts.

Method 3: Install Fonts Using Control Panel on Windows 10
If you’re using an older version of Windows, Control Panel might still be one of the best ways to install fonts on your system. Here’s how to do it.
- Open the Start menu, type “control panel” in the search bar, and click on Control Panel from the search results.

- Locate and click on Fonts.

- A directory of preinstalled fonts will appear. This is where you can add your new font.

Open the folder containing the downloaded font, select the font you want to install, and simply drag and drop it into the font directory that appeared.
How to Download Fonts on Windows 11
It’s no surprise that most fonts online come with a price, but free font websites do exist. If you’re unsure where to find free fonts for your Windows system, follow the steps below. We’ll be using Google Fonts, as it offers a wide range of free fonts.
- Go to the Google Fonts website and choose the font you want to download.

- Select the font and click on the Download icon on the right.

- After downloading, extract the files and follow the installation methods mentioned earlier.
And that’s how you install fonts on Windows. Feel free to repeat the steps and download as many fonts as you like. Although these methods are detailed for Windows 11, they also work on Windows 10. However, the Settings app method might not be available on older Windows versions, so you can use the Control Panel instead.
What are some of the best fonts you’ve downloaded? Let us know in the comments below.


