
My car comes equipped with Android Auto, but it only works with a wired connection, which I find inconvenient to use. When I explored wireless Android Auto dongles in India, I found that they were expensive, often costing over $50 (~Rs 4,000), and many were from unreliable manufacturers. After some research, I discovered an alternative solution that allows you to set up wireless Android Auto using a Raspberry Pi.
With the help of the WirelessAndroidAutoDongle project on GitHub (visit), I was able to convert my car’s Android Auto from wired to wireless. In this guide, I’ll show you how to create your own wireless Android Auto dongle using Raspberry Pi, offering a more affordable and trustworthy option.
Setup Requirements
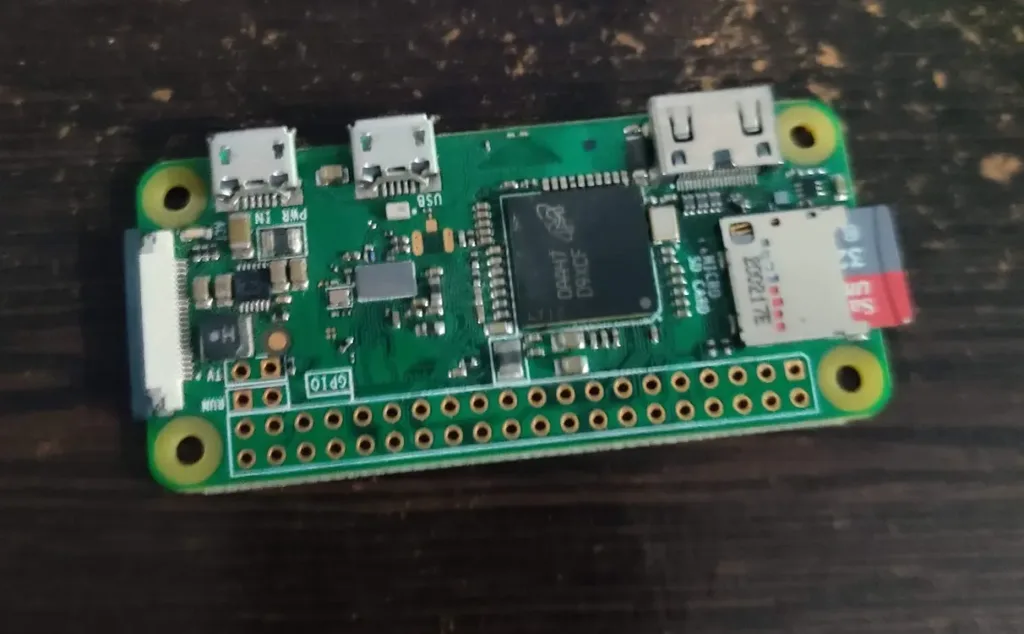
First, you’ll need a Raspberry Pi board that includes Wi-Fi and Bluetooth capabilities. The following Raspberry Pi models are supported out of the box:
- Raspberry Pi Zero W
- Raspberry Pi Zero 2 W
- Raspberry Pi 3A+
- Raspberry Pi 4
You’ll also need an SD card, and it doesn’t need to be large—just 32 MB of space will do. Additionally, your car’s head unit must support wired Android Auto and have a screen.
Required Downloads
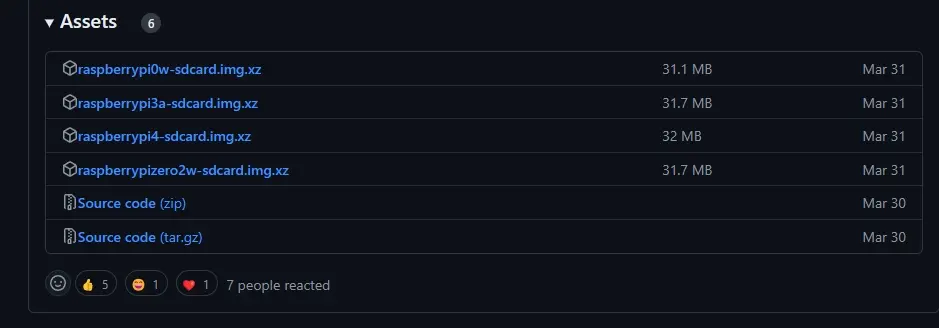
Next, download the appropriate image file from GitHub to flash onto your Raspberry Pi. Choose the file based on your specific Raspberry Pi model. Each file is only about 32 MB in size.
- raspberrypi0w – for Raspberry Pi Zero W
- raspberrypizero2w – for Raspberry Pi Zero 2 W
- raspberrypi3a – for Raspberry Pi 3A+
- raspberrypi4 – for Raspberry Pi 4
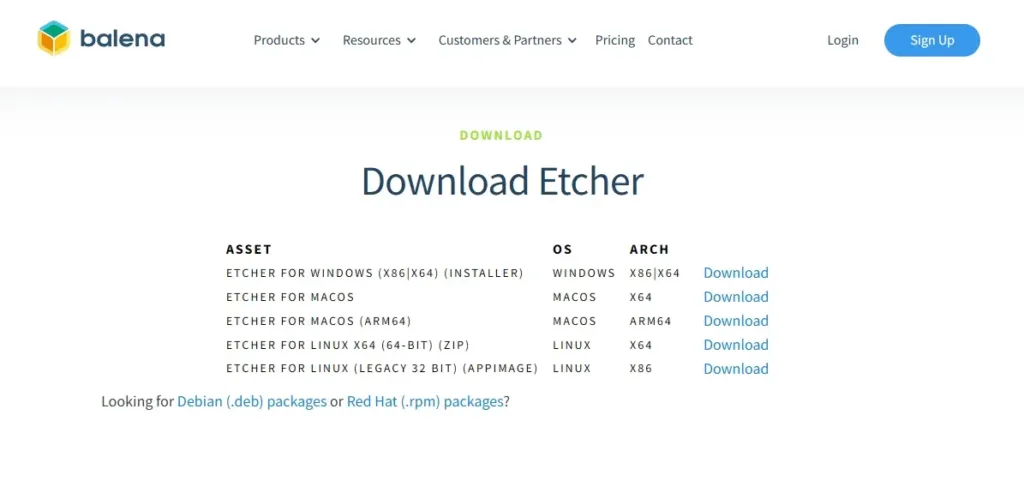
Next, download and install BalenaEtcher (Free) on your computer. This tool will enable you to flash the image onto the SD card.
How to Create a Wireless Android Auto Dongle Using a Raspberry P
- Once you’ve downloaded all the files, connect the SD card to your PC using an SD card reader or USB adapter.
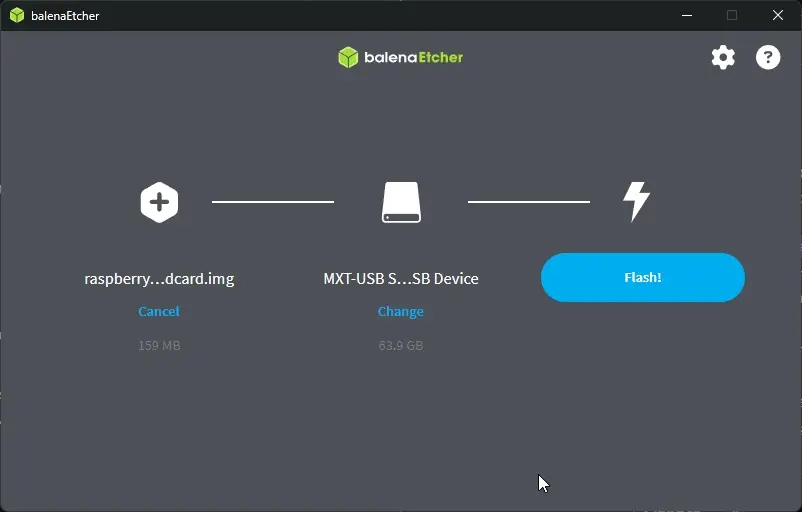
- Now, Launch BalenaEtcher and select the “Flash from File” option. Select the downloaded image file.
- After that, tap on “Select target” and choose the SD card.
- Now, Click “Flash!” in BalenaEtcher. It will then start installing the image onto the SD card.
- If prompted, click “Yes” to confirm. The process should complete within a minute.
- Once the flashing process is complete, remove the SD card from your PC and insert it into your Raspberry Pi board. You’re almost finished.
Connect Your Raspberry Pi-Based Android Auto Dongle to Your Car
With your Raspberry Pi board prepared, it’s time to connect it to your car and test it:
- Plug your Android phone into the car’s head unit using a wired USB cable to establish the Android Auto connection on the car’s screen.
- Once the connection is established, disconnect your Android phone from the car’s head unit.
- Connect your Raspberry Pi to the car’s head unit using a USB cable, ensuring the flashed SD card is inserted into the Raspberry Pi board.
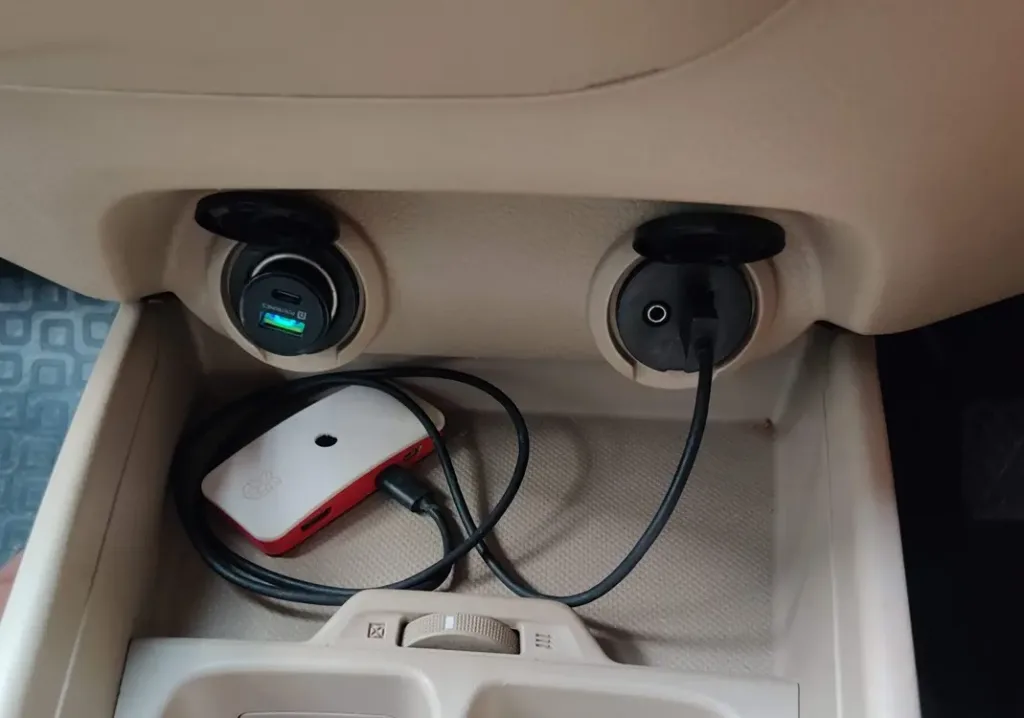
- Wait for 30 to 40 seconds until a green LED lights up on the board.
- On your Android phone, open the Bluetooth settings and look for “AndroidAuto-Dongle” or “AA Wireless Dongle.”
- Tap on the Bluetooth device to pair it with your phone, granting any necessary permissions.
- Next, open the Wi-Fi settings on your phone, find “AAWirelessDongle,” and connect to it by entering the password
ConnectAAWirelessDongle.
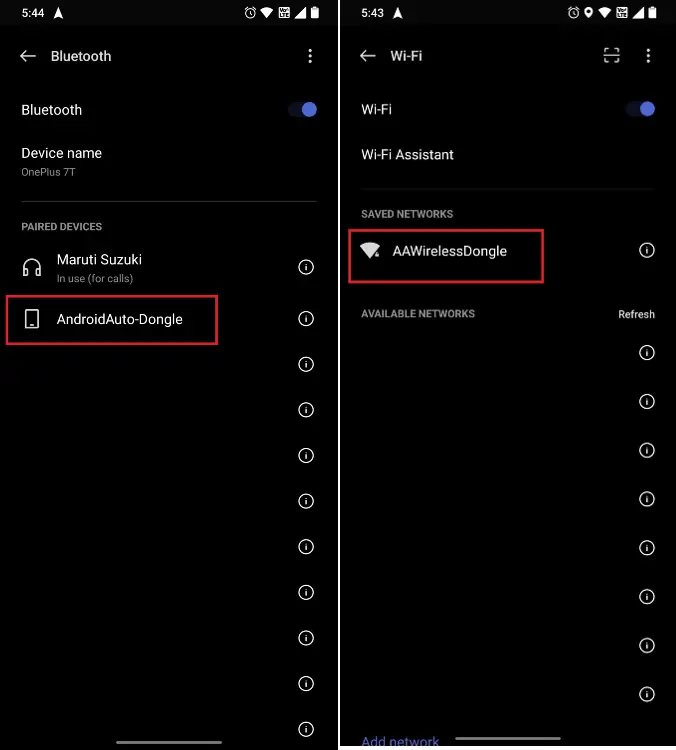
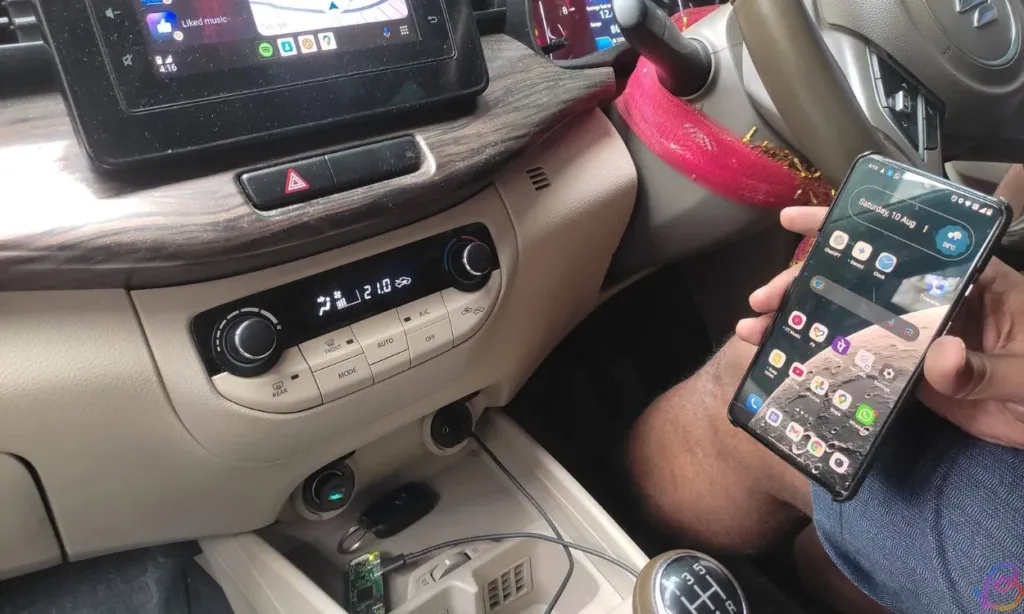
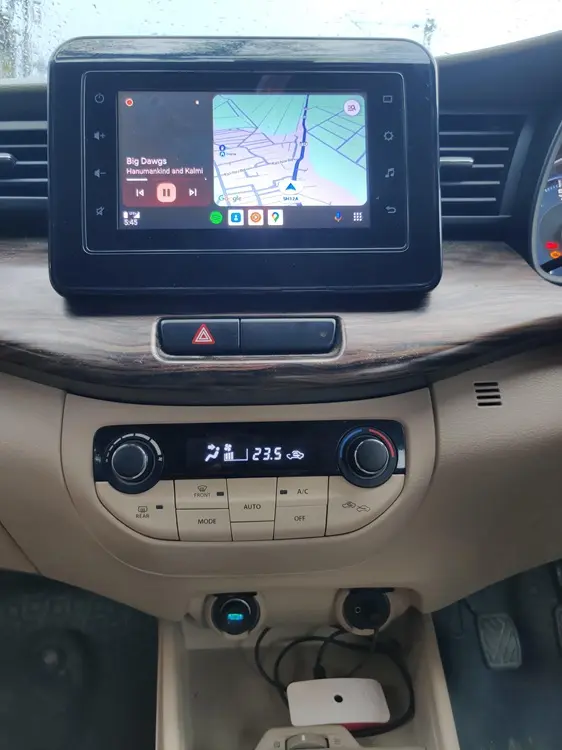
- Once connected to Wi-Fi, Android Auto should appear on your car’s screen. And just like that, you can enjoy Android Auto wirelessly!
- If it doesn’t work on the first attempt, turn off your car and then restart it.
- Reconnect to the Wi-Fi on your phone, and Android Auto should start working wirelessly.


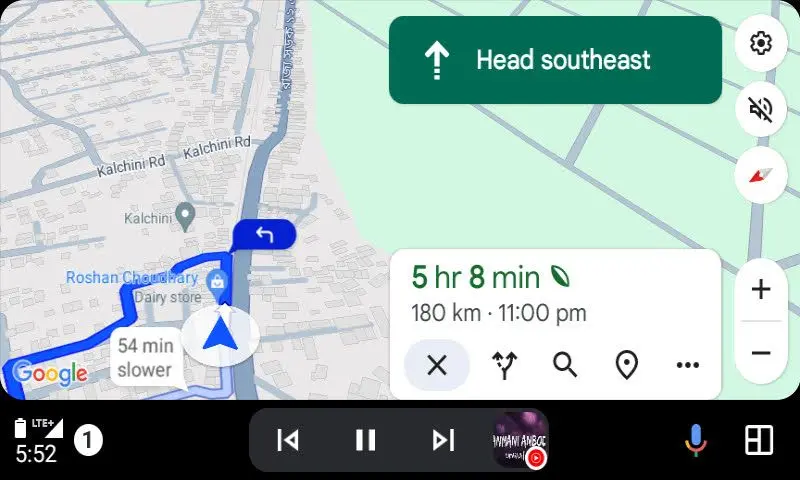

That’s how you can create a wireless Android Auto dongle using a Raspberry Pi. In my experience, it works flawlessly with my Raspberry Pi Zero W, supporting all Android Auto features such as calls, Google Maps navigation, Google Assistant, music controls, and more. Plus, it costs just $15 (Rs 1800 in India) and boots up within 40 seconds.
That wraps up this handy guide. If you’re interested in setting up Pi-hole on your Raspberry Pi to block ads and trackers on your network, check out our detailed guide. If you encounter any issues with the wireless Android Auto setup, feel free to let us know in the comments below.


