
Recently, Microsoft has been intensifying efforts to enhance the security of Windows 11. Several new security features have been introduced to stop malicious programs from seizing control of your computer. However, these new security and privacy features are not activated by default. For instance, Memory Integrity (HVCI) on Windows 11 remains disabled for most users. This feature establishes an isolated environment using hardware virtualization for kernel-level processes and conducts integrity checks. If you’re seeking to enable the Memory Integrity feature within Core Isolation on Windows 11, continue reading for the steps.
Enabling Memory Integrity on Windows 11
- Open the Start menu and search for “Windows Security”. Click to open it.

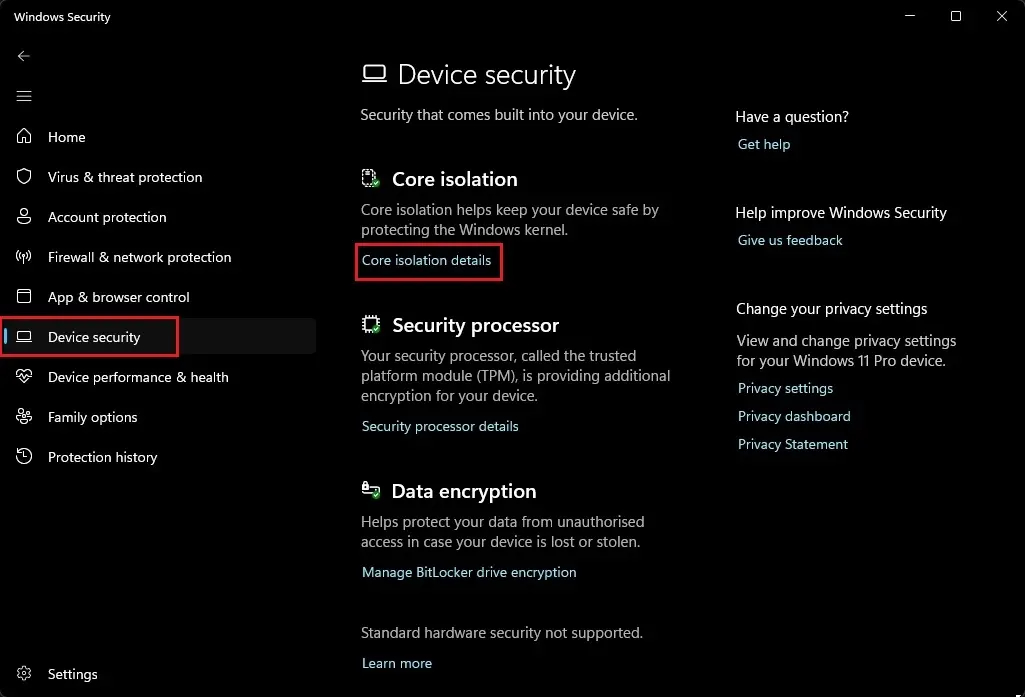
- Navigate to the “Device security” section using the left sidebar.
- On the right-hand side, select “Core Isolation details”.
- Toggle the switch for “Memory integrity” to turn it on.
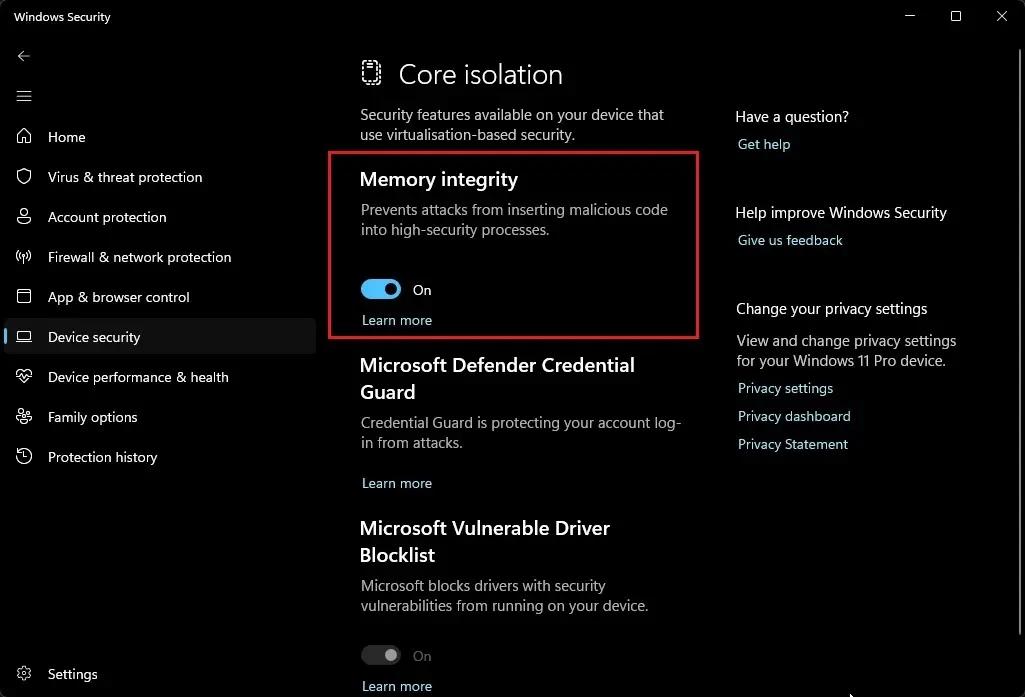
- You will be prompted to restart your Windows 11 PC. After the reboot, the Memory Integrity feature will be activated.
Unable to Enable Memory Integrity: How to Fix?
If you find the Memory Integrity feature within Core Isolation grayed out on Windows 11, you can attempt the following solutions to enable it.
1. Uninstalling Incompatible Drivers
Frequently, users encounter difficulties enabling Core Isolation’s Memory Integrity feature due to driver incompatibilities. Microsoft has implemented a solution to identify and rectify these issues more conveniently. Within Windows Security, under Core Isolation, a “Scan” button is available to detect outdated drivers.
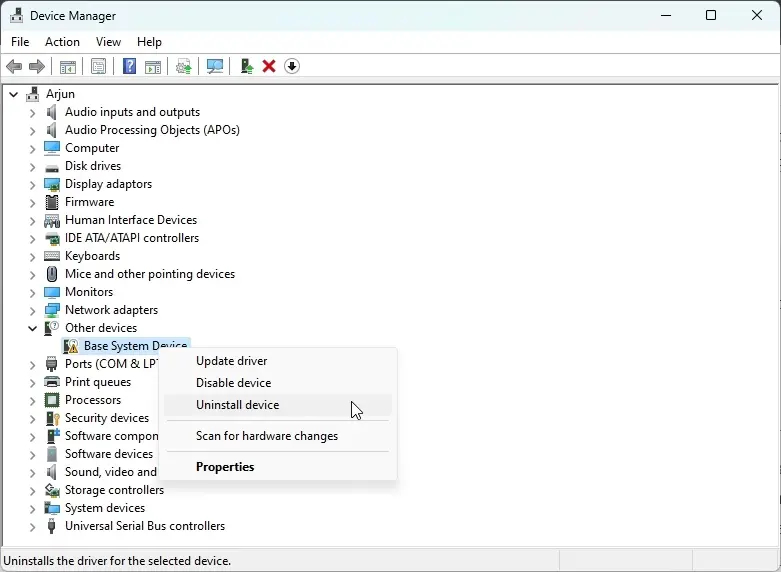
Upon identification of the conflicting driver, proceed to update or uninstall it using Device Manager. For a detailed guide on uninstalling device drivers on Windows 11, refer to our step-by-step tutorial.
2. Updating Drivers via Windows Update
Microsoft currently provides driver updates via Windows Updates. It’s highly advisable to ensure you have the latest updates by checking through the Windows Settings page. Here’s how to do it:
- Use “Windows + I” to access and open the Settings app..
- Choose “Windows Update” from the selections available in the left-hand menu.
- Head to “Advanced options” and then choose “Optional updates” from the right-hand menu.
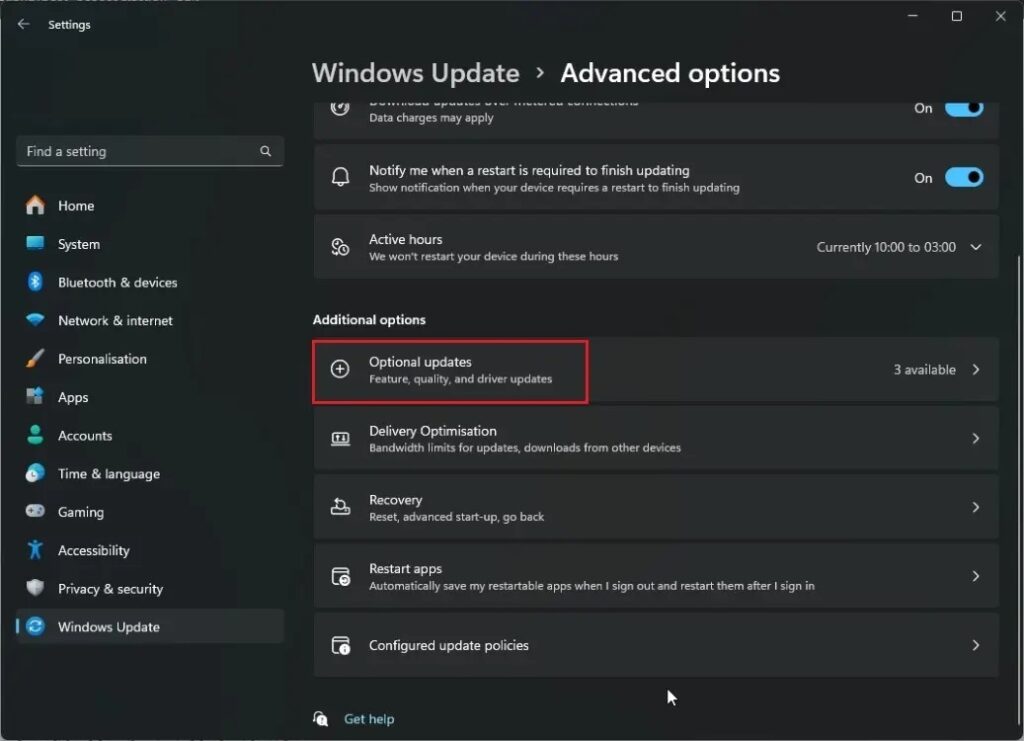
- Expand the “Driver updates” section.
- Choose the specific driver that could potentially conflict with the Memory Integrity feature.
- Lastly, click the “Download & install” button.
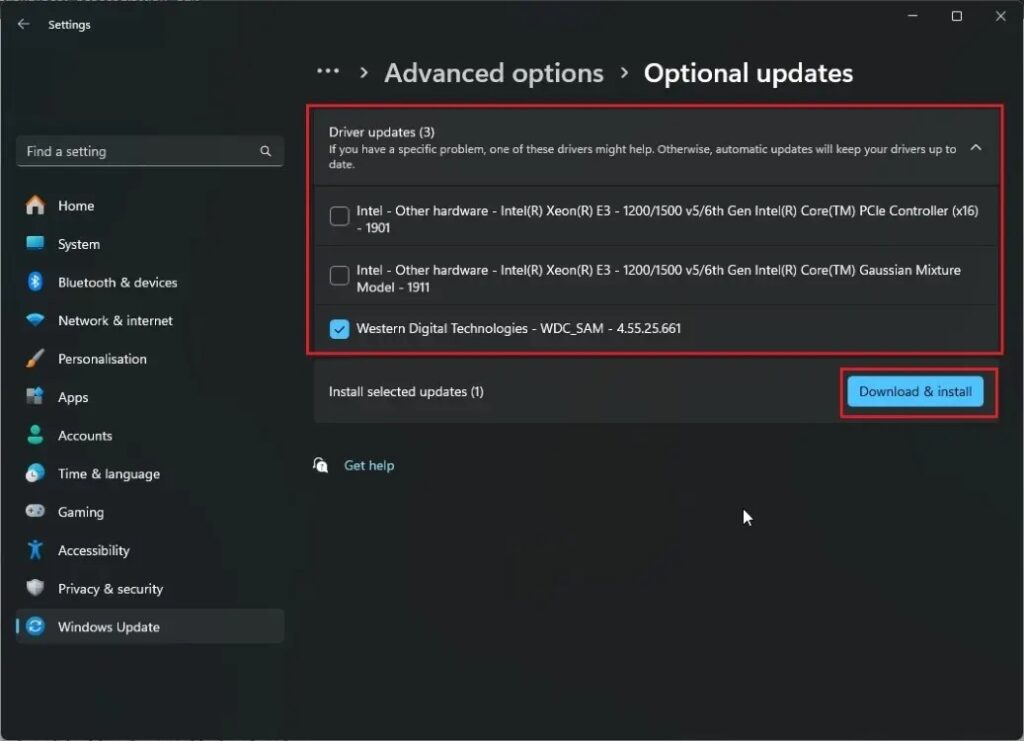
- After installation, restart your PC, then attempt to enable Core Isolation’s Memory Integrity feature.
3. Enabling Hardware Virtualization
If you’re unable to activate the memory integrity feature in Windows 11, you might need to enable hardware virtualization from your BIOS/UEFI settings. Here’s how to do it:
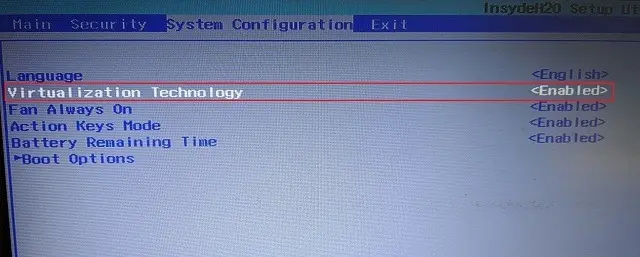
- Follow our tutorial to access the BIOS/UEFI settings on Windows 11.
- Within the BIOS/UEFI settings, locate the “Hardware Virtualization” option and ensure it is enabled. Additionally, consider enabling TPM (Trusted Platform Module) and Secure Boot for enhanced security measures.
4. Forcing Enable Memory Integrity on Windows 11
If other methods haven’t enabled the memory integrity feature in Windows 11, you can attempt to force enable it through the Registry Editor. Follow these steps:
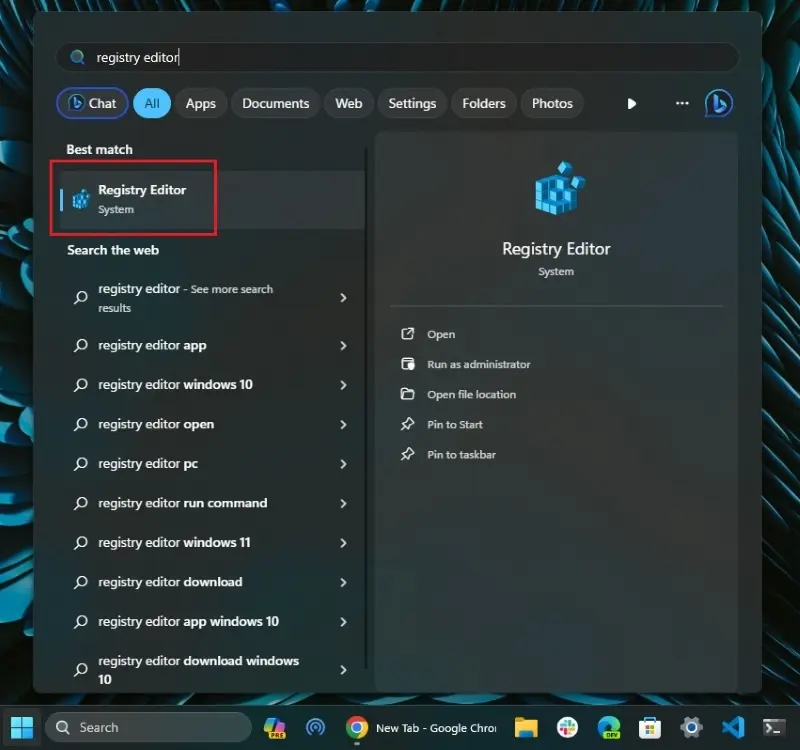
- Open the Start menu and search for “Registry Editor”. Open the application.
- Now, copy the path below and paste it into the address bar of the Registry Editor.
Computer\HKEY_LOCAL_MACHINE\SYSTEM\CurrentControlSet\Control\DeviceGuard\Scenarios\HypervisorEnforcedCodeIntegrity
- Press Enter, directing you to the specific entry.
- Double-click “Enabled” in the right pane and adjust the “Value data” to
1.
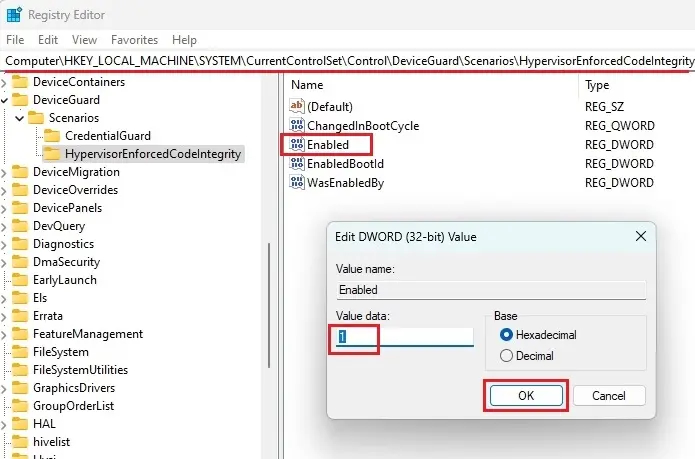
- Select OK, exit the Registry Editor, then reboot your Windows 11 PC to confirm if Memory Integrity has been activated.
That’s the process to enable Core Isolation’s Memory Integrity feature on Windows 11. If the feature remains disabled or greyed out due to system issues, we’ve provided essential fixes to address these problems.
If you’re still encountering issues, performing a clean install of Windows 11 might be necessary. If you have any questions or need further assistance, let us know in the comments section below.


