
Modding in Bethesda games has a rich tradition, and Starfield is no exception. Despite being relatively new compared to its predecessors, modders have already gained early access to the game and are beginning to develop mods to enhance its in-game features. Bethesda has pledged full modding support for Starfield, so it’s crucial to understand how to set up your Starfield installation for modding. This way, when high-quality mods become available, you can easily download and enjoy them without any complications.
Before we dive into the modding process, it’s essential to take some precautions. These precautions will help us revert to the original game files in case anything goes wrong during the modding process. It’s also worth noting that Starfield doesn’t have dedicated mod files like SKSE for Skyrim or FOSE for Fallout, so we won’t be discussing such files in this guide. Without further delay, let’s explore how to install mods in Starfield.
Don’t Forget to Create Backups of Your Game Files Before Modding
First and foremost, make sure you have the game updated to the latest version. After that, it’s crucial to create backups of the original game files. This step is essential as it allows you to restore Starfield to its original state if any issues arise during the modding process. Here’s how you can do it:
- To check the game version, start by right-clicking on Starfield in your Steam library and navigating to Properties.
- Within the Properties menu, click on “Updates” to check the current game version. As of writing, the early access build ID for Starfield is 12051365.
- Return to the Steam library, right-click on Starfield once more.
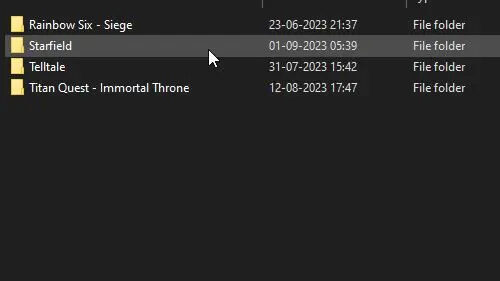
- Select “Manage” and then choose the “Browse local files” option.

- In the File Explorer window, highlight all files and copy them to a separate location for backup purposes.
Lastly, create a distinct save file that remains untouched by the mods. It’s important to note that Starfield does not permit you to rename saved files. Therefore, you’ll need to remember the date of your last save to ensure you don’t lose any progress.
How to Add Starfield Mods Using Vortex
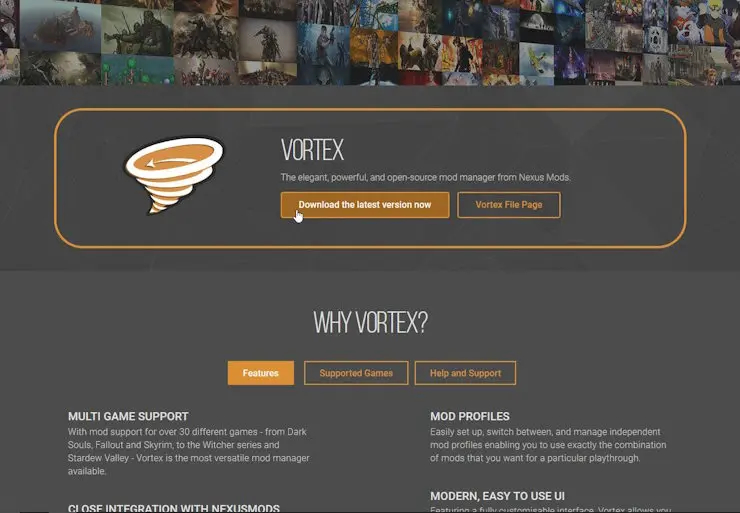
Now, let’s get started with the mod installation process using Vortex. This mod manager, maintained by Nexus Mods, will facilitate the installation of Starfield mods. Although mods for Starfield are still in development, having Vortex installed will prepare you for their arrival. Here’s how you can set it up:
- Visit the Nexus Mod website and proceed to download Vortex. This comprehensive tool is your go-to solution for making modifications to your game files, automatically detecting the games installed on your system. Before you start the installation process, make sure you’ve created a Nexus Mod account.
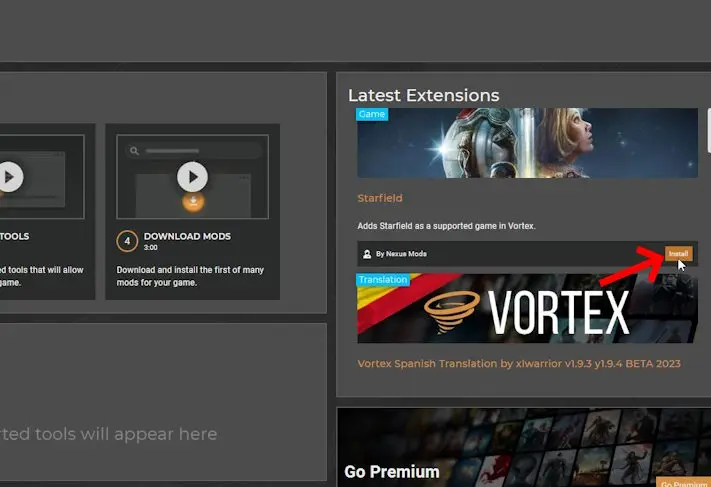
- Install Vortex on your PC and open the application. When you run it for the first time, a Starfield modding tool will appear on the right side of the interface.
- Choose “Starfield” from the available options and proceed to install the extension. The mod manager will prompt you to log in to your Nexus Mod account, so make sure you are already logged in.
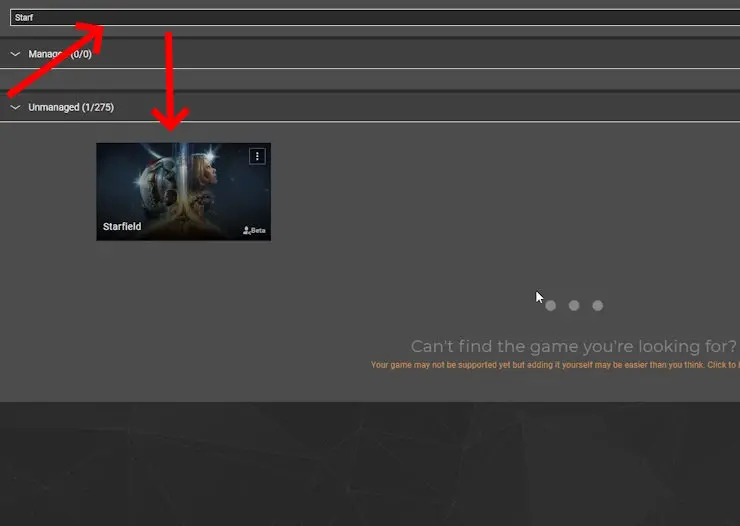
- Afterward, navigate to “Games -> Select a game to manage” and search for “Starfield.” Select it to enable the installation of mods for the game.
- Subsequently, return to the Nexus Mods website and open any Starfield mod.
- When installing mods directly from Nexus Mods, your browser will prompt you to open the Vortex mod manager. Click on “Open Link” to install the mods as instructed on the mod page.
By following the steps provided on the mod page, you can successfully mod Starfield and enjoy the new features, shaders, or other changes you’ve applied to the game.
How to Modify Starfield Using an INI Script
At the time of writing this article, several mods rely on the creation of an “ini” file in Starfield’s “My Games” folder to make adjustments to the game. If you wish to do that yourself and make adjustments like changing the FOV in Starfield manually, then follow the steps below:
- Begin by opening File Explorer and navigating to My Documents.
- Search for the “My Games” folder and then open it.
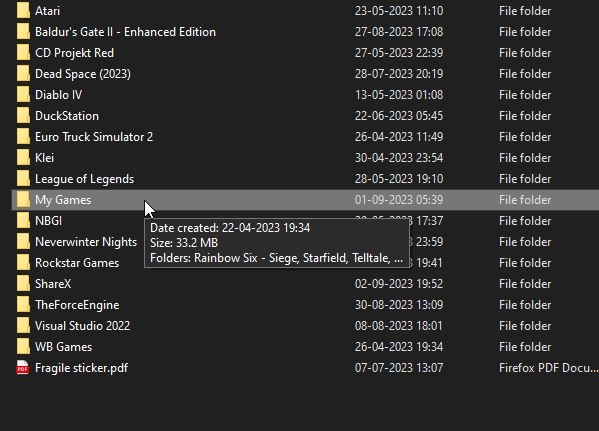
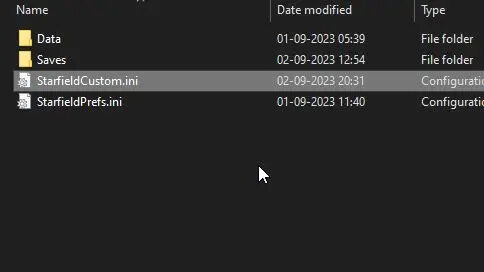
- Inside this folder, you’ll find the Starfield folder. Go ahead and open it.
- At the top of the screen, click on “View” and enable the “File name extensions” option.

- Now, right-click inside the Starfield folder and create a new text file.
- Name this file “StarfieldCustom” and make sure to add “.ini” at the end to change the extension.
From this point on, whenever you install a mod, the mod author may provide some ini scripts in the mod’s instructions. Copy these scripts, open your “StarfieldCustom” file, and paste them inside. Be sure to save the file. This process will mod your Starfield game and introduce a new gaming experience distinct from the vanilla version.


0 Comments