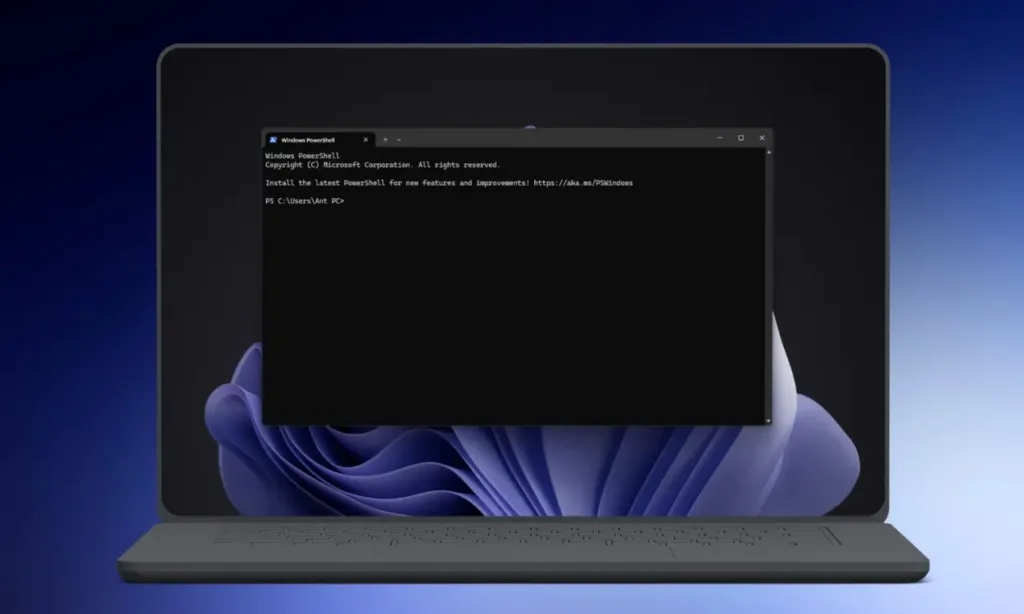
If you’re a developer or power user, chances are you frequently rely on Windows PowerShell. While both PowerShell and Command Prompt are used to execute advanced Windows features and perform development tasks, PowerShell offers a more robust command-line experience. Microsoft continuously introduces new features to PowerShell, so if you haven’t updated it recently, you can upgrade to the latest version.
It’s important to note that PowerShell versions up to 5.1 were automatically updated via Windows updates. However, starting with version 7.x, updates are no longer managed by Windows updates and require manual installation. No matter which version you’re currently using, you can follow the steps below to update or install the latest version of PowerShell. To check your current PowerShell version, simply enter the command $PSVersionTable in your existing PowerShell app.
Method 1: Upgrade PowerShell via the Microsoft Store
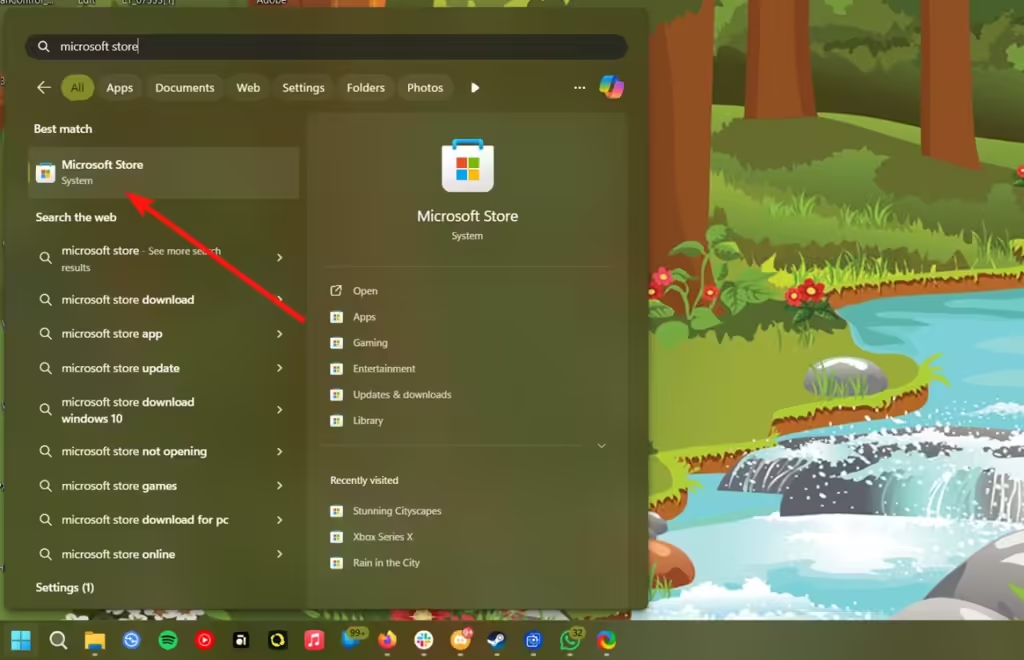
We often overlook the Microsoft Store, favoring traditional EXE files downloaded from the internet. However, the Microsoft Store offers a quick and easy way to update PowerShell. Here’s how:
1. Open the Microsoft Store through the Start menu.
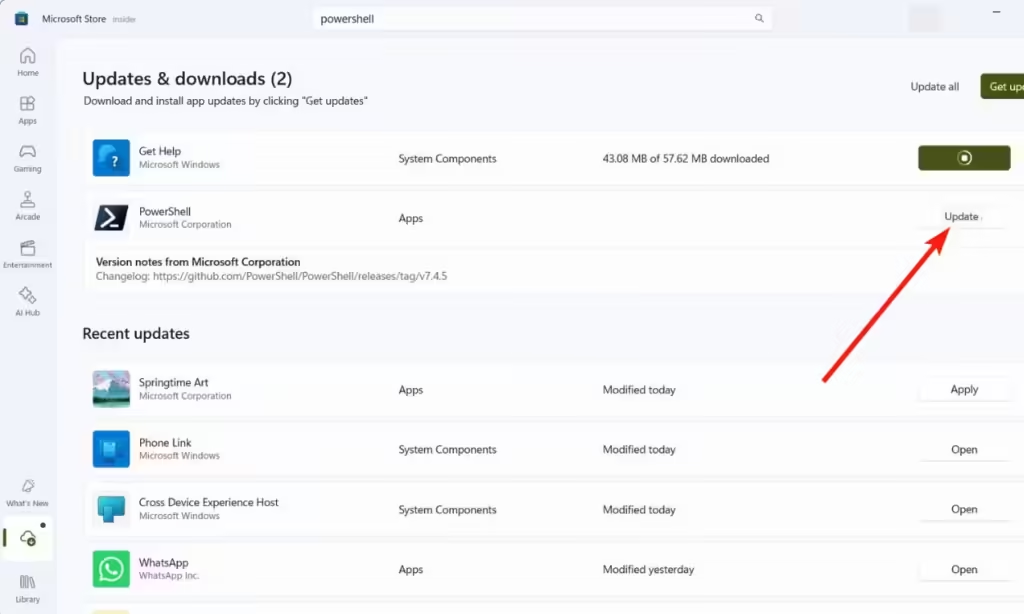
2. Click on the Downloads tab in the bottom-left corner.
3. This will display all available updates. If an update for PowerShell is available, click Update.
4. Alternatively, you can click Update All to update all apps simultaneously.
Method 2: Update Using the PowerShell Installer
Did you know that the new PowerShell 7. x is open source? You can easily update to the latest version using the installer, which is available on both the official PowerShell website and GitHub. Here’s how:
1. Visit the official PowerShell GitHub repository.
2. Navigate to the Releases page and download the latest win-x64.msi file.
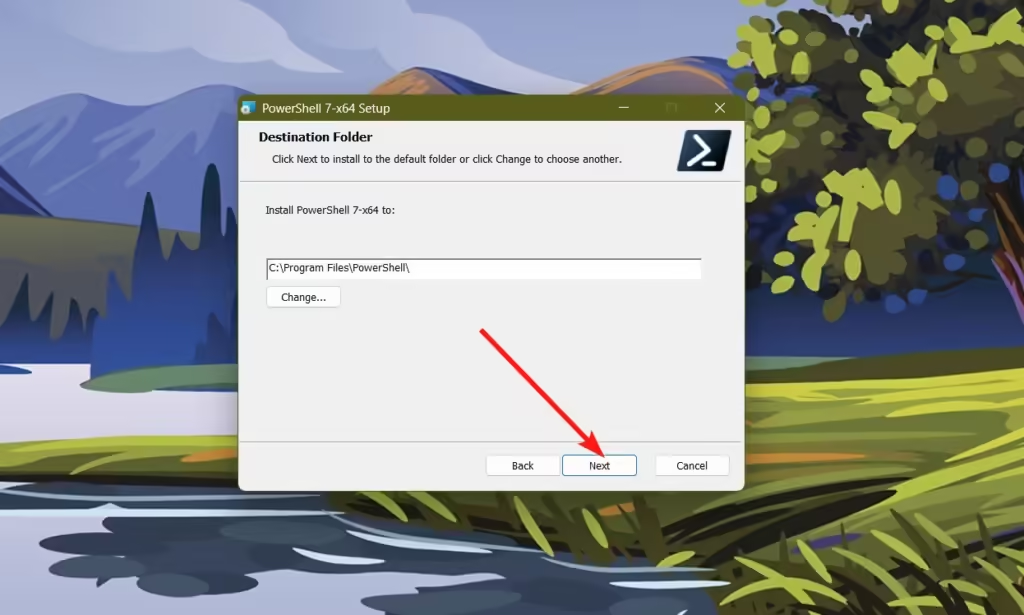
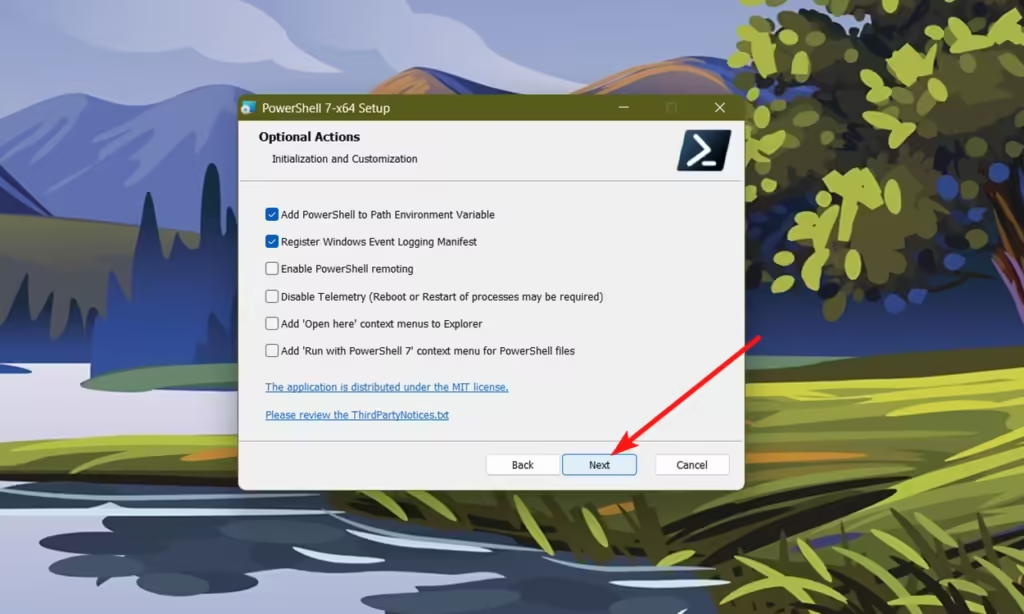
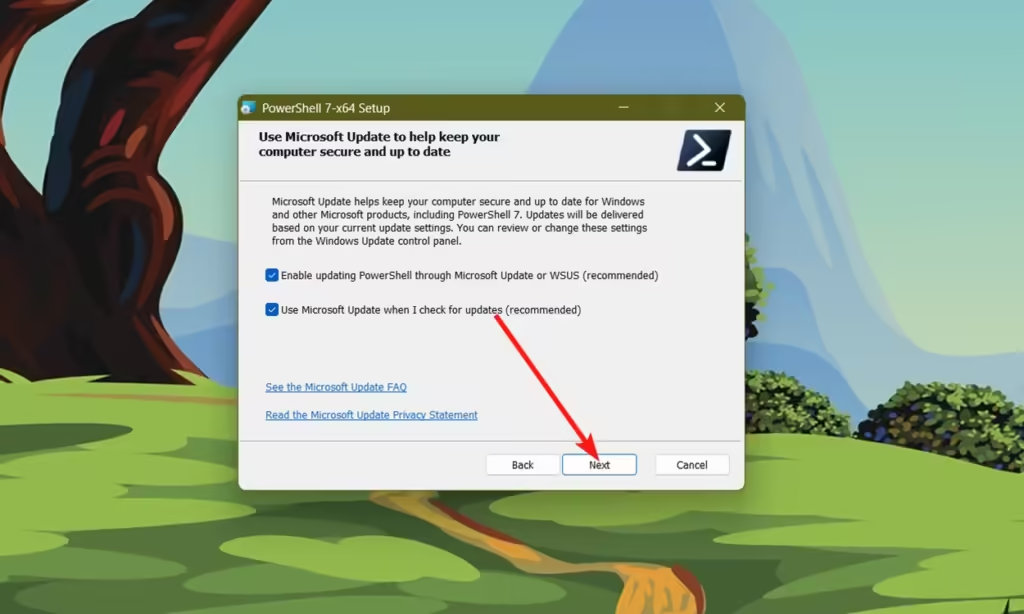
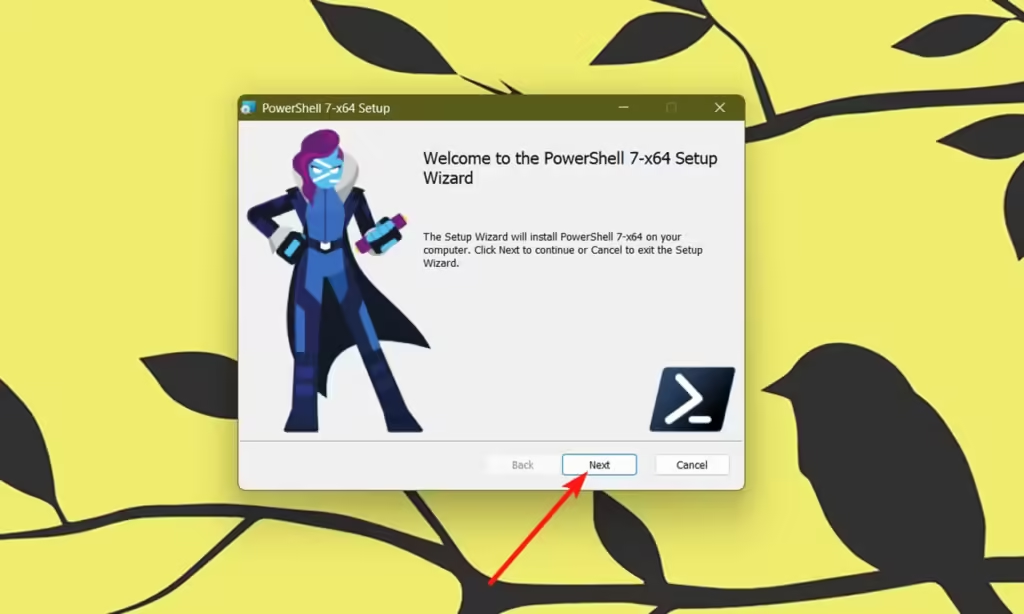
3. After the download is complete, double-click the installer to launch it and click Next.
4. Continue clicking Next through the prompts to proceed.
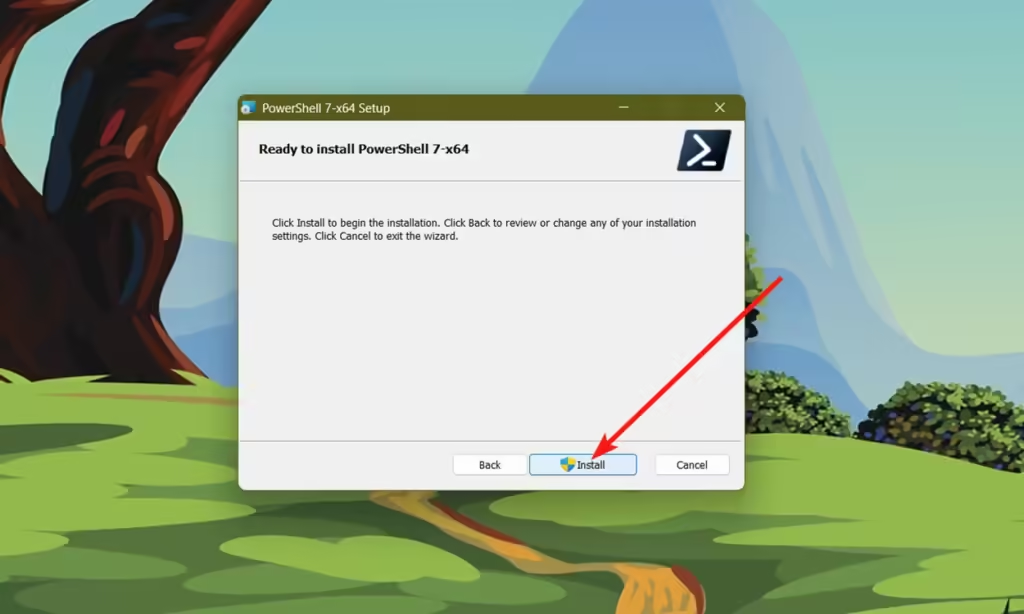
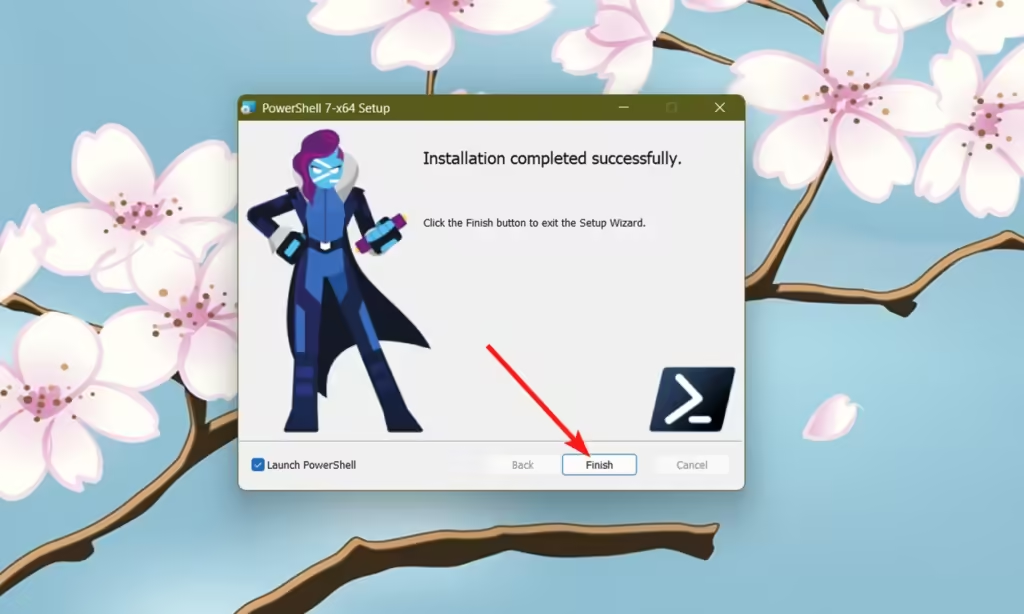
5. Finally, click Install to complete the update.
Method 3: Upgrade PowerShell with Winget
Winget is a package manager for Windows, comparable to APT on Linux or DNF on Fedora. It’s effective for downloading new packages or updating existing ones. Here’s how to use Winget to update Windows PowerShell:
1. Open Windows PowerShell.
2. Enter the following command:
winget update microsoft.powershell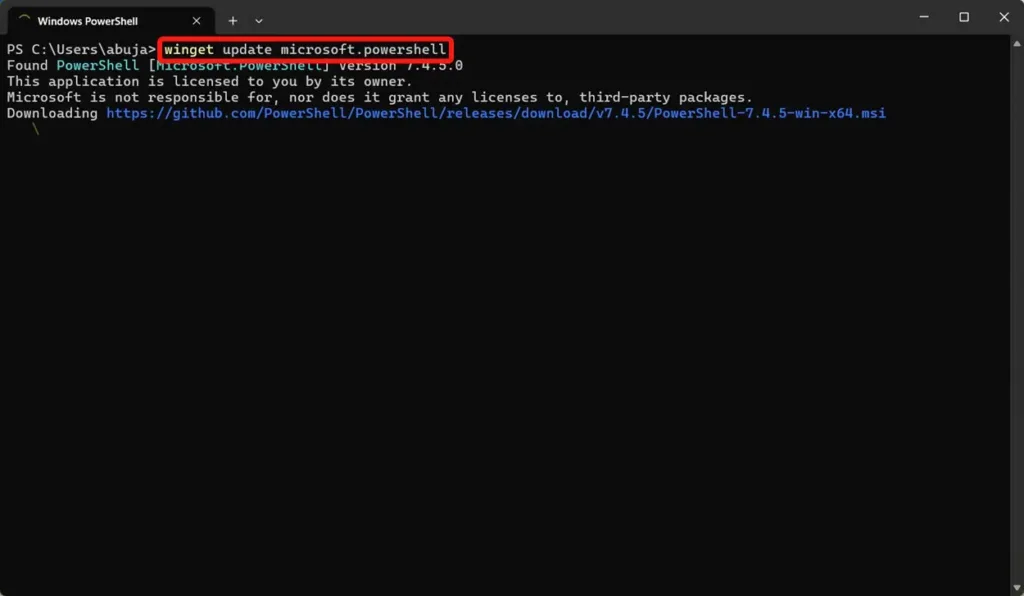
3. If PowerShell is not installed, you can use the following command to install it:
winget install --id Microsoft.Powershell --source winget4. After running this command, you will have either the latest version or a new installation of PowerShell.
Method 4: Update PowerShell via Windows Update
This method is applicable only to older versions of Windows and PowerShell. If you’re using an older version of Windows, your PowerShell version will also be outdated. To get the latest version of PowerShell, you will need to upgrade to the latest Windows version.
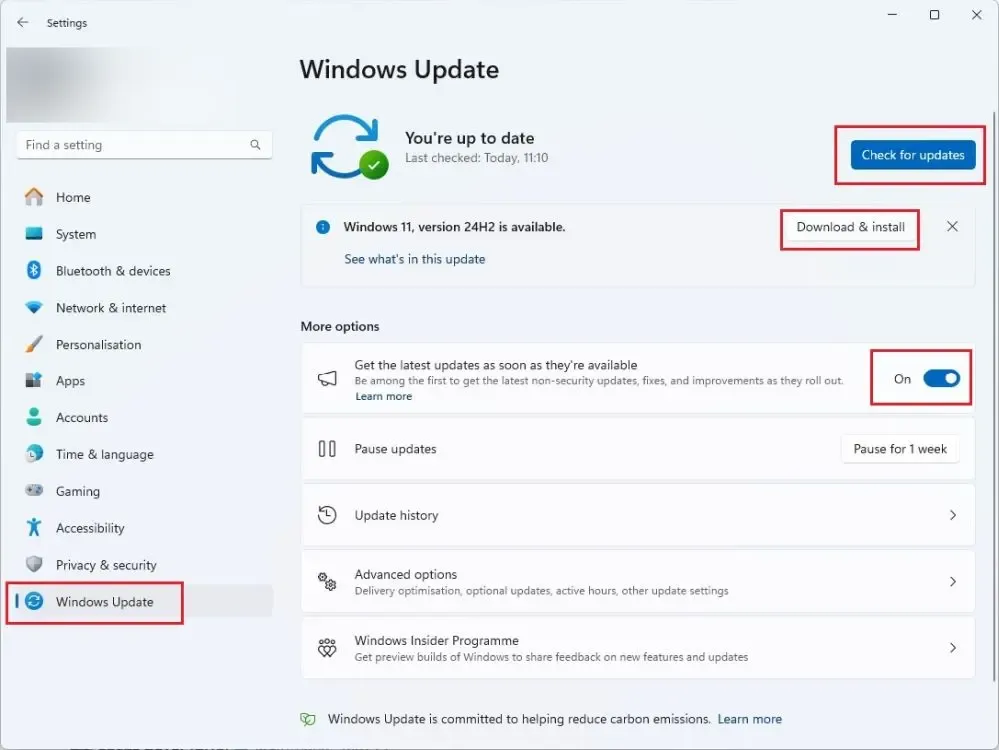
1. Go to Settings > Windows Update.
2. Click Check for updates. Windows will automatically search for and install available updates.
3. After the updates are installed, restart your PC. You should then have the latest version of PowerShell available for your Windows version.
These are the methods you can use to upgrade PowerShell on Windows. The first two methods are generally the quickest and easiest for a fast update. Were you able to upgrade PowerShell using these steps? Let us know in the comments!

